Build scope: The Assault setups below illustrate weapon and cover-role choices. They are editorial recommendations without a site-owned launch damage comparison or controlled mission-clear test.
Build Assault around firing from useful cover, a reliable mid-range rifle, and Sonic Disruptor activations that give the squad time to kill or reposition. Start with the Prototype Lancer and Gnasher. As you unlock more options, choose either sustained rifle pressure or a more precise Lancer Mk1 arrangement, while keeping a close-range answer for enemies that break the line.
Assault gains damage while in cover and uses its Sonic Disruptor to stun incoming enemies. Those two properties provide a clear foundation without requiring a claim that one weapon setup is the strongest after launch. Prototype Lancer, Lancer Mk1, Hammerburst, and Vulcan damage changed between the beta and release, so old comparisons should not determine your current loadout automatically.
Build around a position you can actually hold
An Assault build needs usable cover overlooking the objective or the squad's approach. Cover damage is not a reason to remain behind the first wall you encounter after teammates have moved. Choose a position with a target lane, nearby protection, and a route to the next objective.
| Layer | Recommended direction | Practical result |
|---|---|---|
| Primary rifle | Controlled damage from cover | Reliable pressure across the squad's mid-range lane |
| Secondary weapon | Close defense or a distinct unlocked ranged option | An answer when the rifle's usual fight disappears |
| Sonic Disruptor | Useful stun windows | Time for the team to finish enemies or move |
| Armor | Survival and handling around your firing position | Less interruption when the defense changes |
| Equipment | Reinforce the next objective | A specific tool chosen before the rush arrives |
Keep the starting Gnasher if enemies frequently reach your position. A second rifle may look more flexible on the loadout screen, but it should not leave you without an answer to repeated close pressure. The correct choice depends on how the squad covers the near lane.
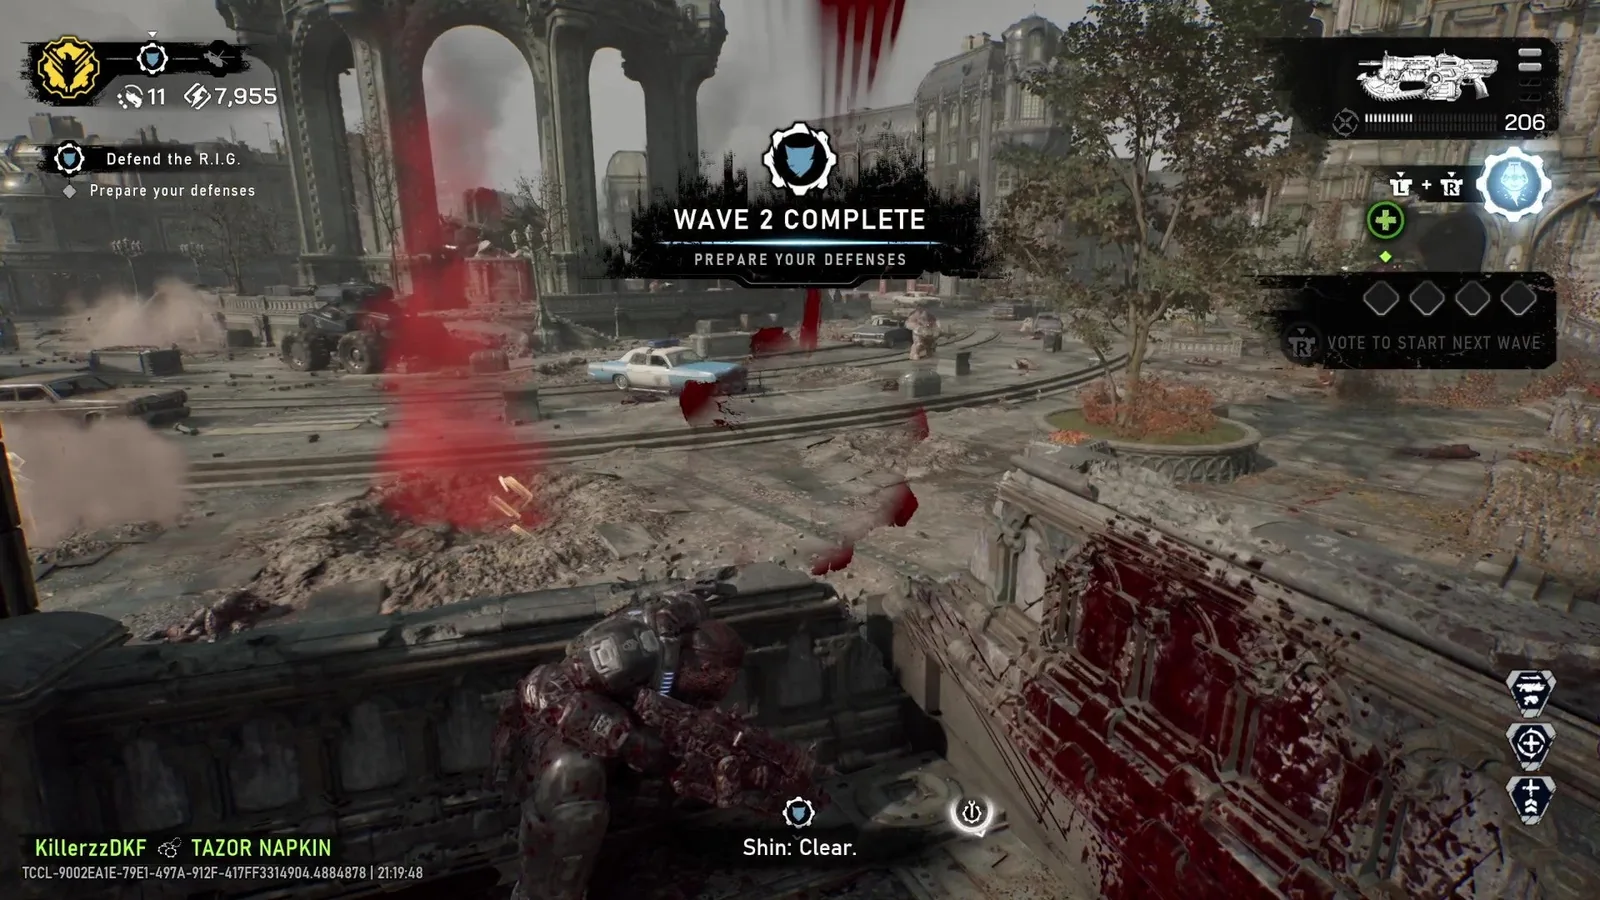
The cover overlooks the objective approach and leaves time to prepare defenses between waves; the image does not measure Assault damage bonuses.
Start with the Prototype Lancer and build outward
The Prototype Lancer is an all-round rifle with a chainsaw option. Use it to maintain damage from cover and reserve close executions for safe opportunities. A chainsaw does not turn an exposed approach into a protected one, especially when another enemy has a clear shot into the execution area.
Cover Brace is a natural modification direction when available because it improves firing accuracy from cover. That reinforces both the class's position and the rifle's task. Choose it when inaccurate sustained shots are the reason enemies survive your lane, rather than simply because every other player recommends the same attachment.
An accuracy and critical-damage barrel direction can support deliberate target tracking. A magazine direction is useful when you have a long firing opportunity and reloads are the primary interruption. These solve different problems: more ammunition does not improve a burst of missed shots, and better accuracy does not fill an empty weapon.
Keep active reload choices connected to your play. If a perfect-ammo effect matters to the weapon arrangement, reload behind cover and check the resulting ammunition state before beginning the next firing window. A build dependent on an effect you rarely activate is less useful than a simpler configuration you use reliably.
Consider a precision Lancer Mk1 alternative
A community weapon setup combines Semi-Auto, Precision Rifling, and Cover Brace for a Lancer Mk1 used as a precision rifle. It changes the firing approach from continuous automatic fire toward deliberate critical hits. Consider this arrangement when the required mods are unlocked and you prefer picking exposed targets rather than maintaining a stream of fire.
| Choice | Function in the precision arrangement |
|---|---|
| Semi-Auto | Changes the weapon toward deliberate single-shot fire |
| Precision Rifling | Supports accuracy and critical damage |
| Cover Brace | Improves accuracy while firing from cover |
| Full Metal Jacket | Adds a perfect-ammo damage direction |
This is an example of a coherent weapon concept, not a measured post-launch damage winner. The Lancer Mk1 received a launch damage reduction. Confirm the current descriptions and do not assume a beta clip's damage comparison still applies to your difficulty and targets.
The example can exchange Cover Brace for a scope if the scope helps you land critical shots. That is a real trade: you keep the view that improves your aiming at the cost of another benefit. Try the unspecialized version first if you are not sure whether additional zoom improves your hits.
A close-quarters Mk1 direction also appears in community setups, using Close Quarter Barrel with Cover Brace and a capacity or reload-speed choice. It is a different purpose. Do not combine recommendations from both directions without deciding whether the weapon is meant to handle close pressure or precise ranged shots.
Use the Ripper when you can support its ammunition demands
The Ripper provides another offensive option as Assault progresses. Community setups include fire and ricochet effects, but they do not establish an unlimited-ammunition or highest-damage solution. Treat the weapon as a different firing tool with a supply requirement you must manage throughout the objective.
Before replacing the Prototype Lancer, identify what the Ripper adds to your squad. If you want sustained pressure into larger threats, make sure you can prepare ammunition and hold the position needed to use it. If close executions are part of your plan, remember that changing away from the Lancer changes that option as well.
Avoid spending an entire defense on a weapon you cannot keep supplied. Check ammunition during the safe interval and use nearby resources before the next wave pins you down. A powerful weapon that repeatedly forces you away from the objective can produce less practical value than a less demanding rifle.
Modify the Disruptor around the squad's next action
The Sonic Disruptor stuns waves of enemies and is particularly useful for defending objectives. Choose Tactical Gear effects that support the window your squad needs. General improvements to duration or cooldown are useful when the existing stun ends too early or the ability is unavailable during successive pressure.
Do not activate it simply to add an animation to an already controlled fight. A stun is valuable when it interrupts dangerous pressure, opens a kill opportunity, or lets a teammate move. Tell the squad when you use it so the Marksman can take a shot or the Breacher can enter the opening.
A damage or recovery effect connected to stunned enemies creates a conditional build. That effect only helps when enemies are stunned and the corresponding action occurs. If you choose such a bonus, keep your weapon ready and use it during the actual stun window. Deploying the Disruptor and immediately leaving the fight can waste the connection you built around.
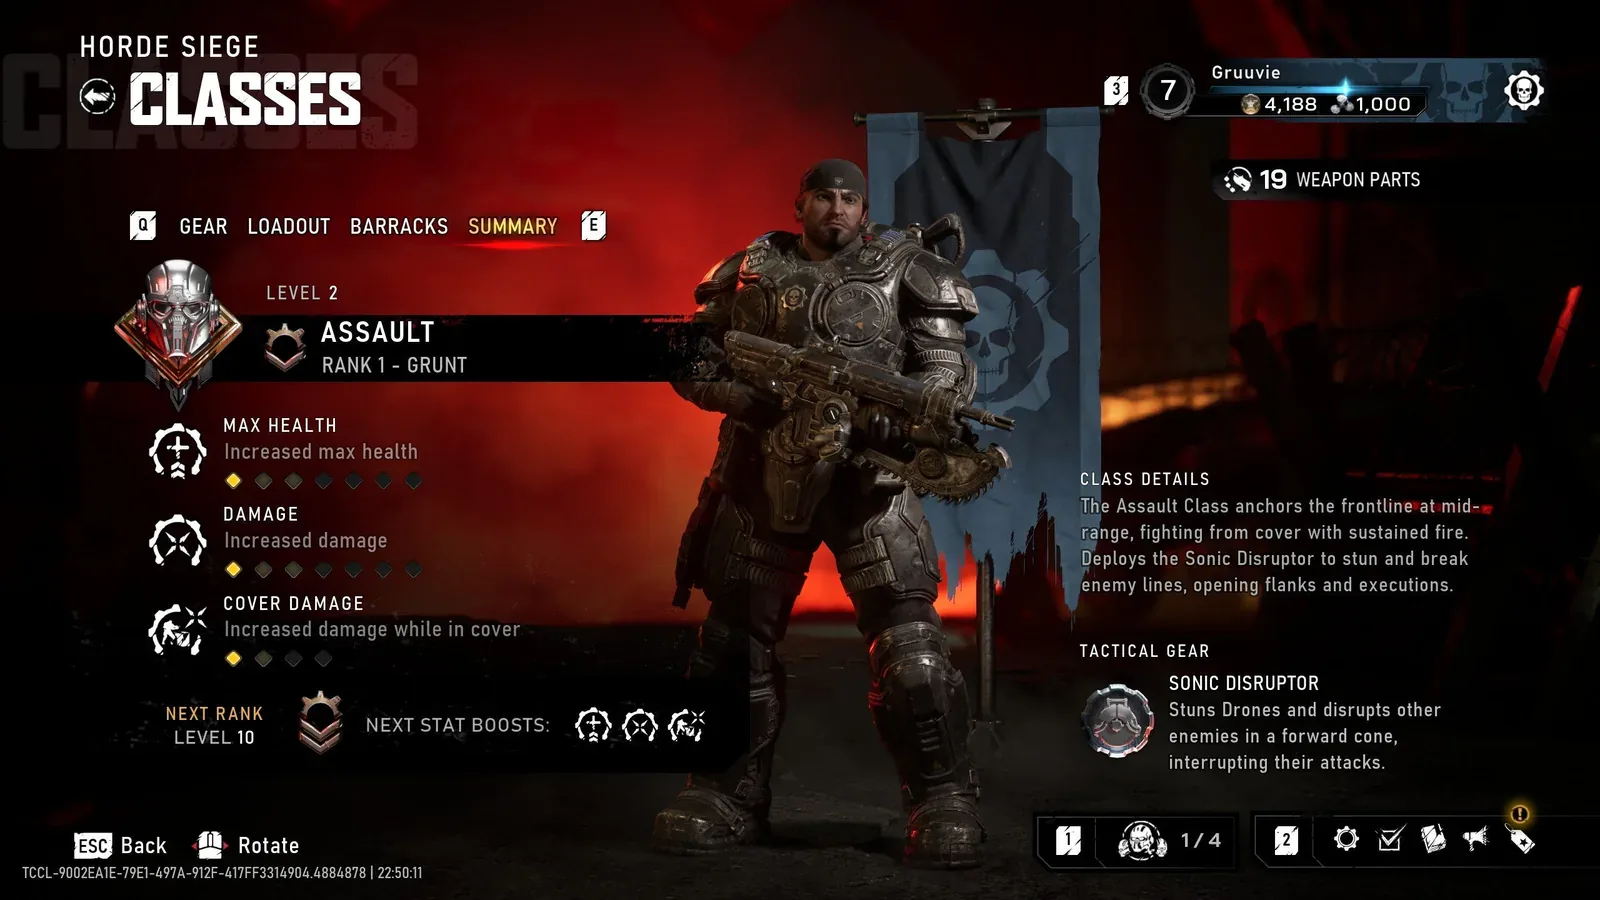
The summary identifies the cover-focused role and Sonic Disruptor. It does not show the tool being deployed.
For an early class with limited unlocks, the unmodified ability still has a clear purpose. Learn when a rush threatens the objective, and use the stun before the line collapses. Timing and team attention can improve your results before a later modification becomes available.
Set Armor Mods for your firing routine
Armor Mods can alter health, ammo reserves, weapon swapping, and other soldier properties. Pick an improvement for the disruption you repeatedly experience. More health is useful when your firing position is exposed too often, but check whether better cover would fix the same problem. Handling becomes attractive when enemies require frequent swaps between the rifle and shotgun.
An ammunition improvement can support a long defense if repeated refills interrupt your role. It should supplement preparation rather than replace it. A rifle build with enough reserve to finish the objective is easier for the squad to coordinate than one that unexpectedly stops firing during the heaviest rush.
Keep execution bonuses conditional on safe access. Some weapon setups connect chainsaw executions with ammunition or reload effects. Such a loop is useful only when appropriate enemies are available and other threats are controlled. Do not rush a large enemy at a remembered beta health percentage: launch tuning lowered the execution threshold for Boomer, Flayer, and Grinder enemies.
Run a simpler version at low levels
Stay with the Prototype Lancer and Gnasher while learning the cover lanes around objectives. Choose available mods that improve the way you already fight. Add a specialist weapon once you can explain which problem it solves and have the progression to equip it.
After a completed mission, inspect both Gear and Loadout. Class progression unlocks Armor Mods, Tactical Gear Mods, equipment, and weapon options. Weapon modifications need Weapon Parts after the relevant unlock. A missing class unlock cannot be bypassed simply by collecting more parts.
Your modified weapons are shared across Horde classes when those classes equip them. Check a familiar weapon after switching back to Assault, especially if you changed it for a more mobile role. The weapon arrangement should still support firing from cover, rather than accidentally prioritize another class's previous routine.
Do not raise difficulty just because your rifle has another attachment. Infantry is recommended for class levels 10–20, Commander for 20–30, and Allfather for max-level classes. Launch tuning increased the latter difficulties. The squad's ability to keep objectives under control is a better readiness check than one favorable weapon clip.
Adapt the Assault position to the mission
Defend and Horde
Choose cover overlooking the approach that would otherwise force teammates away from the R.I.G. Use rifle fire to keep that lane controlled and save the Disruptor for the rush that makes ordinary shooting insufficient. Place purchased defenses where they solve a visible approach problem.
If incoming fire destroys or compromises your cover, move before the position becomes a trap. Holding the cover-damage bonus is not useful when the same position guarantees repeated downs. Reestablish a protected angle that still supports the objective.
Repair, Calibrate, and Secure
For Repair, protect the component carrier's path. Do not remain behind to farm distant enemies while the carrier crosses the dangerous section alone. For Calibrate, shift your cover position with the zones the squad needs to defend.
Secure calls for a controlled advance. Use the Disruptor to open the push, support the teammate entering the contested area, and then move into a new covered angle. The class's mid-range flexibility helps connect the old position to the new one without requiring an unsupported charge.
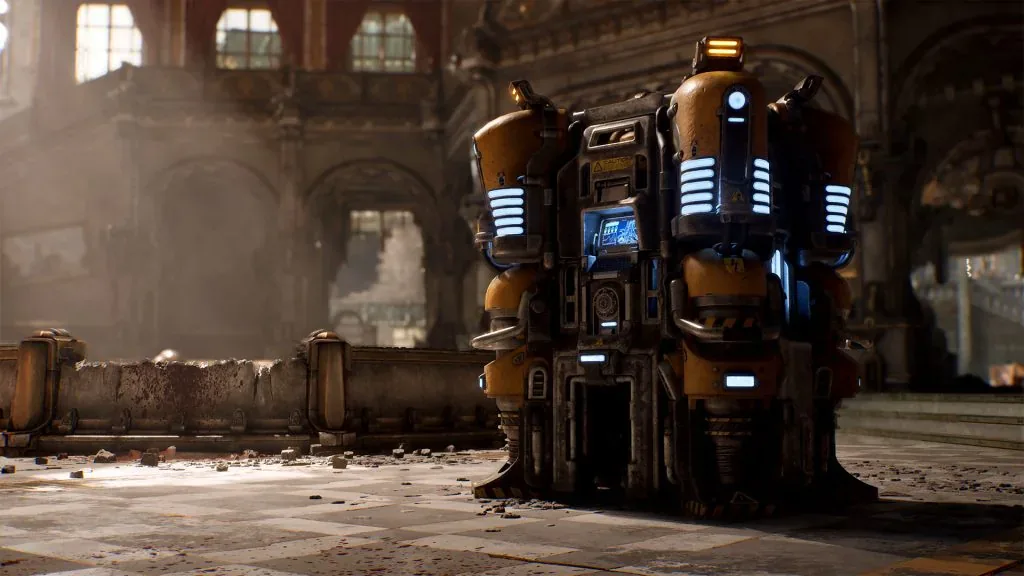
Identify the device you must protect before choosing which approach your Assault position will control.
Extraction
Prepare ammunition and useful equipment before the landing-zone fight. Equipment and grenades share an inventory slot, so verify what you carry after purchasing replacements. Launch tuning increased equipment and Squad Perk costs; check current prices instead of following an old fixed spending sequence.
Help clear the zone, remain close enough to board, and use the Disruptor if incoming enemies threaten the squad's escape. At least one member of your own squad must extract to complete the mission and retain Weapon Parts. Remaining at a distant rifle position for more kills risks the reward the squad has already earned.
Judge the setup by the lane it controls
After the mission, ask which enemy or situation repeatedly stopped you contributing. Missed rifle fire suggests an accuracy or aiming problem. Empty weapons suggest preparation or ammunition management. Frequent close downs suggest a missing secondary answer. A ready Disruptor that never helped suggests timing and communication.
Change one choice for the next comparable mission. An Assault build should give the squad stable cover fire and a predictable response when pressure increases. Those results make the class useful even when another player's specialist weapon produces a larger damage total.