A solo Insane run is viable, but the safest approach is to treat each encounter as a combat puzzle rather than a damage race. Read the arena before firing, preserve a covered fallback route, use movement to reach a chosen position, and match each weapon to the threat it handles well. Seal E-holes when possible, remove enemies that restrict your movement, and reposition before damaged cover or a new attack angle leaves you exposed.
There is no supported universal loadout or fixed priority order for every fight. Weapon availability, arena geometry, enemy combinations, and campaign upgrades can change the correct decision. The plan below therefore focuses on repeatable choices that remain useful throughout a solo Insane campaign without assuming specific unlocks, enemy health values, or checkpoint behavior.
Prepare the run without changing its difficulty tier
If your goal is to complete every campaign act on Insane, confirm that the campaign is still displaying the intended difficulty tier whenever you alter gameplay options. E-Day offers extensive difficulty and gameplay customization, but changing some settings also changes the current difficulty tier. Do not assume that a customized setup still qualifies as Insane merely because the run originally started there.
Before entering a difficult chapter, make sure the fundamentals are comfortable enough that you can execute them under pressure:
- Practice deliberate cover entries. Cover-cancel timing is later than in previous Gears games, and rapid legacy-style chaining is not the intended movement model.
- Learn when a sprint can become a slide into cover. Sliding cannot be spammed, so it must be reserved for a useful crossing or escape.
- Become comfortable with shoulder swapping while aiming. The correct shoulder lets you expose less of your character when firing around a particular side of cover.
- Place the active reload bar where you can read it consistently. Its default position is below the reticle, but returning players can move it to the upper-right corner.
- Test scoped aim before relying on a precision weapon. First-person scopes have sway, so a clear sightline does not automatically produce an easy shot.
- Learn the difference between cover that can hold and low-ground protection that merely reduces exposure. Damaged low cover can force your Gear into a slower, more exposed prone posture.
Campaign weapon mods can adapt weapons to your preferred style. Treat upgrade choices as encounter-specific decisions rather than assuming one fixed route is mandatory for every Insane fight. Choose upgrades that strengthen a weapon’s actual job in your current setup instead of trying to make every gun solve every problem.
Build your solo Insane plan around the combat space
Before committing to the first visible target, identify three positions: your opening cover, your fallback cover, and the position from which you can attack a blocked angle. This takes only a few seconds, but it prevents the most avoidable solo failure—discovering that your only retreat crosses an exposed lane.
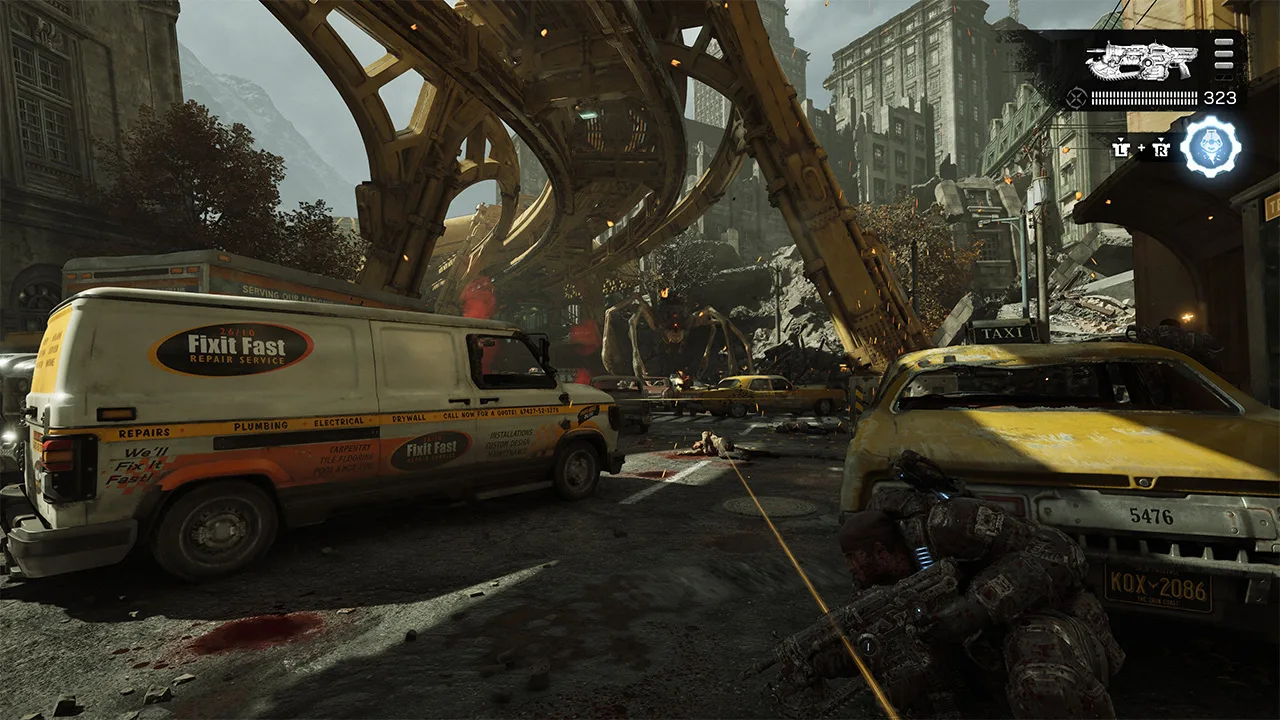
Use the street layout and nearby cover to plan the opening angle before committing to a fight.
Use the arena’s newer traversal options as part of that plan. A side entrance, climbable ledge, balcony, narrow firing gap, or low passage may offer a safer solution than attacking directly. Jumping and climbing no longer require you to enter cover first, while slides can carry you under vehicles or through low gaps. These tools make alternate routes practical, but they do not make open ground safe. Decide where the movement ends before starting it.
A useful pre-fight scan follows this order:
- Locate solid cover that protects you from the largest number of visible firing angles.
- Check whether that cover can be degraded and where you will move if its upper protection is destroyed.
- Find the next safe position and confirm that the route is not blocked by an enemy sightline.
- Look for an elevated or side angle that can expose enemies hiding behind frontal cover.
- Identify any E-hole that can continue feeding Locust into the arena.
- Note which enemy can deny your planned route first.
Do not move simply because a flank exists. A flank is valuable only when it improves your firing angle without exchanging one dangerous lane for several new ones. In solo play, a modest angle from reliable cover is often more useful than a deep push that leaves no safe retreat.
Use cover as a temporary position, not permanent safety
E-Day’s cover system supports more heights, shapes, and actions than earlier entries. That variety creates options, but it also means two nearby pieces of cover may provide very different protection. Low-ground cover can keep you alive when nothing better is available, yet it comes with slower movement and a more exposed profile. If incoming fire strips away the upper portion of your protection, reassess the position immediately.
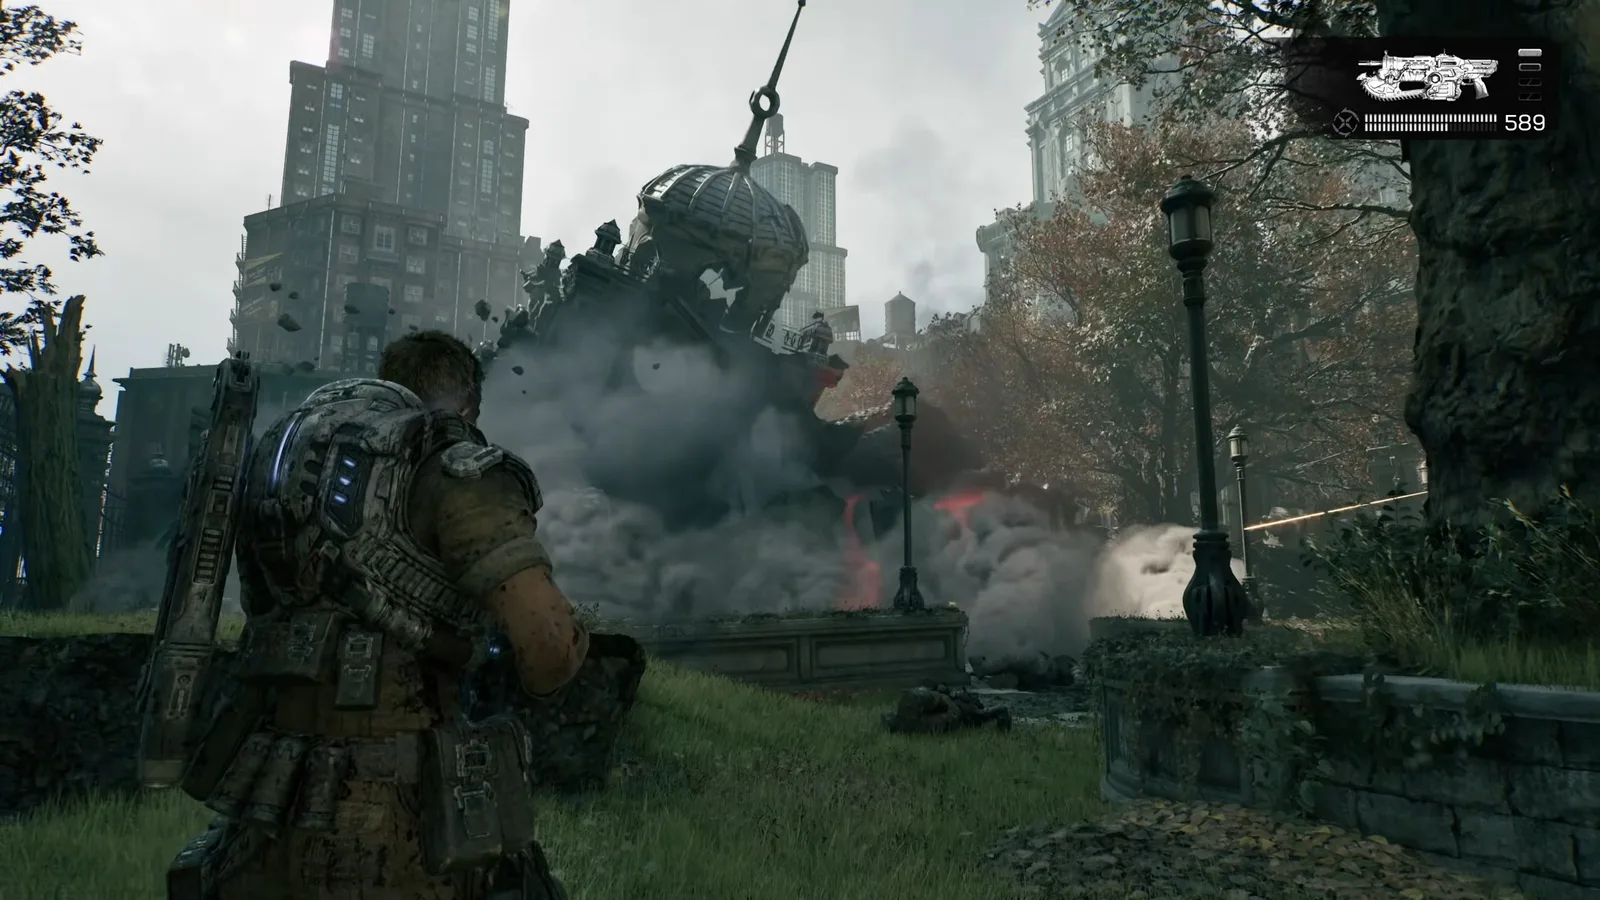
Low cover can become unreliable when surrounding structures and sightlines break down.
The safest rotation is a planned move between known endpoints. Sprint when the distance requires it, slide when getting low or reaching cover changes the risk, and climb only when the destination creates a genuine advantage. Momentum carries through E-Day’s actions, so reversing direction is not instantaneous. A last-second change of mind can leave you exposed even when the input feels quick.
Cover entry remains one of the fastest movement actions, but cancellation requires more commitment toward the object. The July breakdown described a 1.5-meter threshold; the September launch update adjusted cancel distance without publishing a replacement value. Learn the current timing rather than treating that earlier number as a guaranteed launch rule. Later commitment makes repeated cancels slower and more predictable. For an Insane campaign, treat the mechanic as a precise adjustment rather than an emergency button that can erase a poor route.
Shoulder swapping is equally important. If the next target is on the right side of your cover, use the shoulder that gives you the clean angle with the least exposure; swap again when the geometry reverses. When a vehicle window or another narrow opening offers a protected shot, use the gap instead of stepping into a wider lane.
Smoke Grenades can block both player and AI sightlines. When one is available, its solo value is not limited to aggressive pushes. Smoke can create the visual break needed to leave failing cover, cross an otherwise watched space, or reach a better firing position. It is still a temporary tool, so know the destination before deploying it.
Assign every weapon a clear job
A stable solo setup needs complementary functions more than it needs a single supposedly best gun. Build around the threats and geometry in front of you, then preserve specialized ammunition for situations in which its special property matters.
Reliable pressure at practical range
The Prototype Lancer has a higher rate of fire and a deeper magazine than recent Lancers, making it an adaptable rifle for tracking targets. The Lancer MK1 can work from close through mid-to-long range, but its strong recoil must be controlled. Some automatic weapons reward short bursts, which is especially relevant when you need accuracy across a lane rather than maximum fire into cover.
The Hammerburst fires an accurate six-round burst, and a perfect active reload increases its rate of fire. It suits deliberate exposure windows: acquire a target, fire the burst, and return to protection instead of remaining visible without a clear reason.
Precision and protected targets
The Longshot rewards patience and accuracy at distance. Use it when an elevated or side angle gives you time to settle the scope rather than assuming every distant lane is a safe precision duel. Scope sway adds an aiming challenge, and all projectiles now use simulated ballistics and travel time. At ranges beyond a weapon’s comfortable envelope, moving targets may require a lead.
The Gut Puncher offers another solution to cover. Its armor-piercing explosive round can detonate normally, or you can hold the trigger and place the explosion behind an enemy’s protection. This is most useful when changing the detonation point solves a blocked angle; firing it as ordinary direct damage wastes its defining advantage.
Close-range emergency tools
The Gnasher remains a close-range weapon, but it now carries six shells and uses round-by-round active reloading. You can load one or two shells when a short opening appears instead of waiting for a complete reload. That flexibility is valuable during pressure, but it does not make a blind rush safe.
The Incinerator is an Imulsion-fueled shotgun intended to melt enemies at close range. Treat it as a specialized answer for a fight already happening inside its useful distance, not as a reason to cross exposed ground. The Snub draws and stows quickly and works as a clean-up weapon when changing to it is safer than forcing a lengthy reload.
Heavy weapons allow most movement, although carrying one slows you down. Before taking one into an encounter, confirm that its power is worth a less flexible rotation. A weapon that delays your escape can become a liability when the arena demands frequent repositioning.
Stop reinforcement and movement threats first
Enemy priority on Insane should be based on what is about to collapse your position. The most dangerous target is not always the largest enemy; it is the one that prevents you from using your planned cover, route, or firing angle.
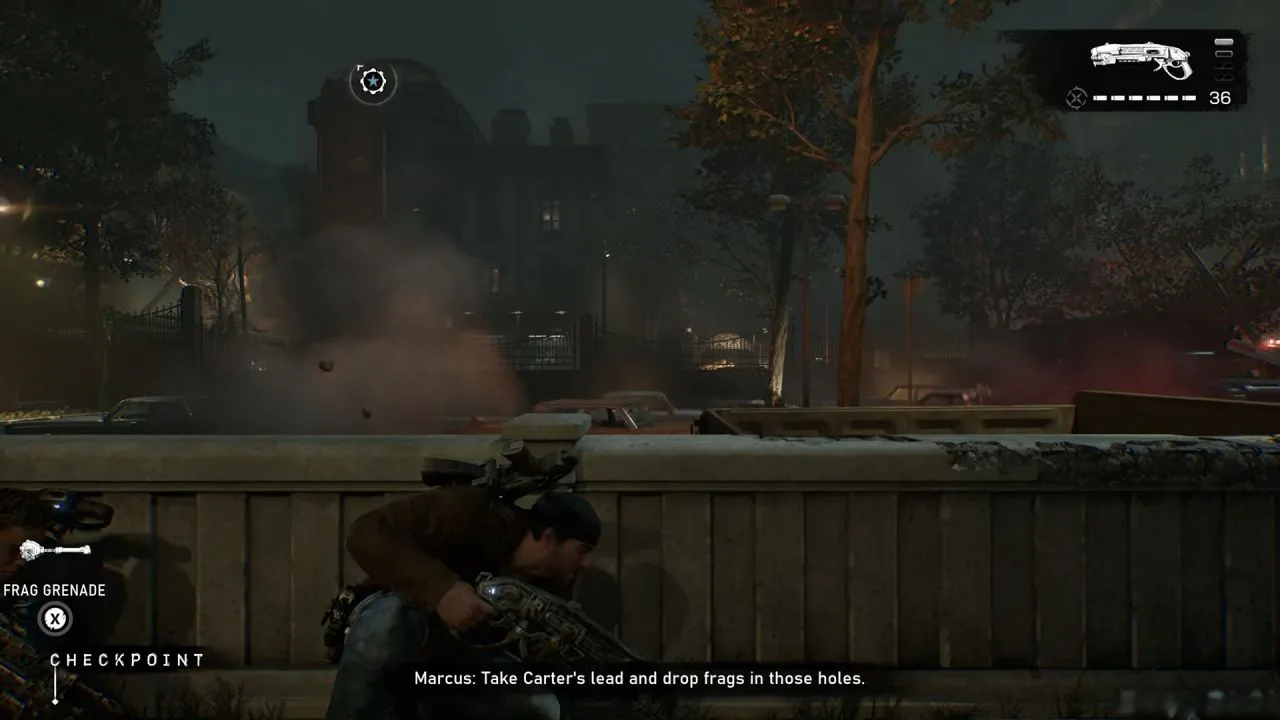
The scene reinforces the grenade timing needed to close an emergence hole before reinforcements spread.
When an E-hole opens, a well-placed grenade can close it. If you have a safe throw and the grenade is available, stopping reinforcement can be more valuable than damaging one current target. Do not cross a lethal lane merely to force the closure. If the throw is unsafe, stabilize the enemies already threatening you and wait for a better angle.
Use these threat-specific responses:
- Armored Wretches: Their scream can disorient you and limit your actions. Maintain enough awareness to avoid being caught while exposed, and clear space before attempting a movement sequence that depends on precise timing.
- Drone squads: Drones appear in multiple varieties, and elite units use tougher tactics and loadouts. Read the weapons and positions actually present instead of treating every Drone as an interchangeable rifle target.
- Boomers: They are large, durable enemies that dominate space. Concentrate on staying out of the lane they control while applying damage from reliable cover. At low health, a Boomer can be executed with a Lancer chainsaw, but a solo player should not force the approach unless the path is genuinely controlled.
- Reavers: A Reaver may deliver a squad of Drones or remain as a dangerous walking tank. It can also leap to a high wall and fire from above, changing which cover faces are safe. Recheck the arena as soon as it changes elevation.
- Seeders: A Seeder must be approached closely enough to be taunted out of its hole; it then flips and exposes its vulnerable head. Treat this as a staged objective: control the surrounding pressure, prepare a retreat, trigger the exposure, and attack the revealed target rather than improvising the whole sequence at point-blank range.
Mixed groups require you to combine those responses. For example, a Reaver changing elevation may invalidate your cover while an Armored Wretch threatens to interrupt the escape. In that situation, restoring a viable route matters before maximizing damage. Once movement is safe again, you can return to the larger target.
Follow a repeatable solo encounter loop
A consistent decision loop reduces rushed inputs and helps expose the real cause of a failed attempt:
- Read the geometry. Choose opening cover, fallback cover, and one alternate firing angle.
- Identify the control threat. Find the enemy or spawn source that can remove your ability to reposition.
- Open from protection. Use a weapon suited to the distance and avoid extending the exposure after the useful firing window ends.
- Limit reinforcement. Close an E-hole with a grenade when the throw is safe and worthwhile.
- Watch the cover state. If protection breaks down or a Reaver creates a new vertical angle, move before the position becomes untenable.
- Rotate with an endpoint. Sprint, slide, climb, or use smoke only as part of a defined route.
- Rebuild the firing angle. Shoulder swap, use a cover gap, or take elevation to attack enemies protected from the original lane.
- Reload by opportunity. Use active reload mechanics and the Gnasher’s round-by-round loading during controlled pauses rather than after the magazine is completely exhausted in a crisis.
- Repeat after every major change. A new enemy group, damaged cover, or opened E-hole creates a new combat puzzle.
When an attempt fails, change one decision at a time. If you were caught while moving, revise the route or the timing. If a protected enemy stalled the fight, find a side angle or reserve an appropriate weapon. If reinforcements overwhelmed the arena, plan the E-hole closure earlier. This produces a useful adjustment without inventing a different strategy after every death.
Protect the Insane completion objective
The campaign achievement tied directly to this run is Today We Are Canceling the Apocalypse, awarded for completing all campaign acts on Insane difficulty. Separate objectives cover side missions, hidden items, collectibles, Hard Cases, and broader completion requirements. Do not burden a first Insane clear with every optional objective unless you intentionally want to combine those goals.
Most importantly, keep the difficulty-tier condition visible in your planning. E-Day allows campaign settings to be customized, and some changes alter the current tier. If completion credit is the goal, verify that the game still labels the run Insane after any adjustment. From there, success comes from disciplined repetition: control reinforcement, preserve movement, use the arena’s routes, and solve the enemy combination in front of you rather than relying on one tactic for the entire campaign.