Gears of War: E-Day mods are built-in equipment upgrades used in Campaign and Horde Siege. Weapon Mods change how a gun behaves, Armor Mods change soldier benefits, and Tactical Gear Mods alter class equipment. Horde Siege Weapon Mods must first unlock on a class track and then be purchased with Weapon Parts before you equip them. These PvE upgrades do not apply in Versus, where players begin on an equal weapon footing.
If you searched for downloadable PC mods, do not confuse those with this in-game system. There is no verified community-mod installation method or supported external mod list established here. This guide covers the equipment choices visible inside E-Day, including useful campaign examples and the steps that distinguish unlocking a mod from actually equipping it.
Choose the kind of modification you need
Start with the problem in your current loadout. A gun that is hard to control calls for a different adjustment from a Tactical Gear cooldown that feels too long. Identifying the problem first prevents you from spending resources on a modification whose description sounds powerful but does not support the way you play.
| Modification type | What it changes | Example of the decision it supports |
|---|---|---|
| Weapon Mods | Weapon behavior and characteristics | Accuracy, capacity, range, or a different attack function |
| Armor Mods | Soldier benefits | Health, ammunition reserves, weapon swapping, or execution-related benefits |
| Tactical Gear Mods | Class equipment behavior | Cooldown, effective range, or additional effects |
| Weapon skins | Weapon appearance | Visual preference without treating it as a stat upgrade |
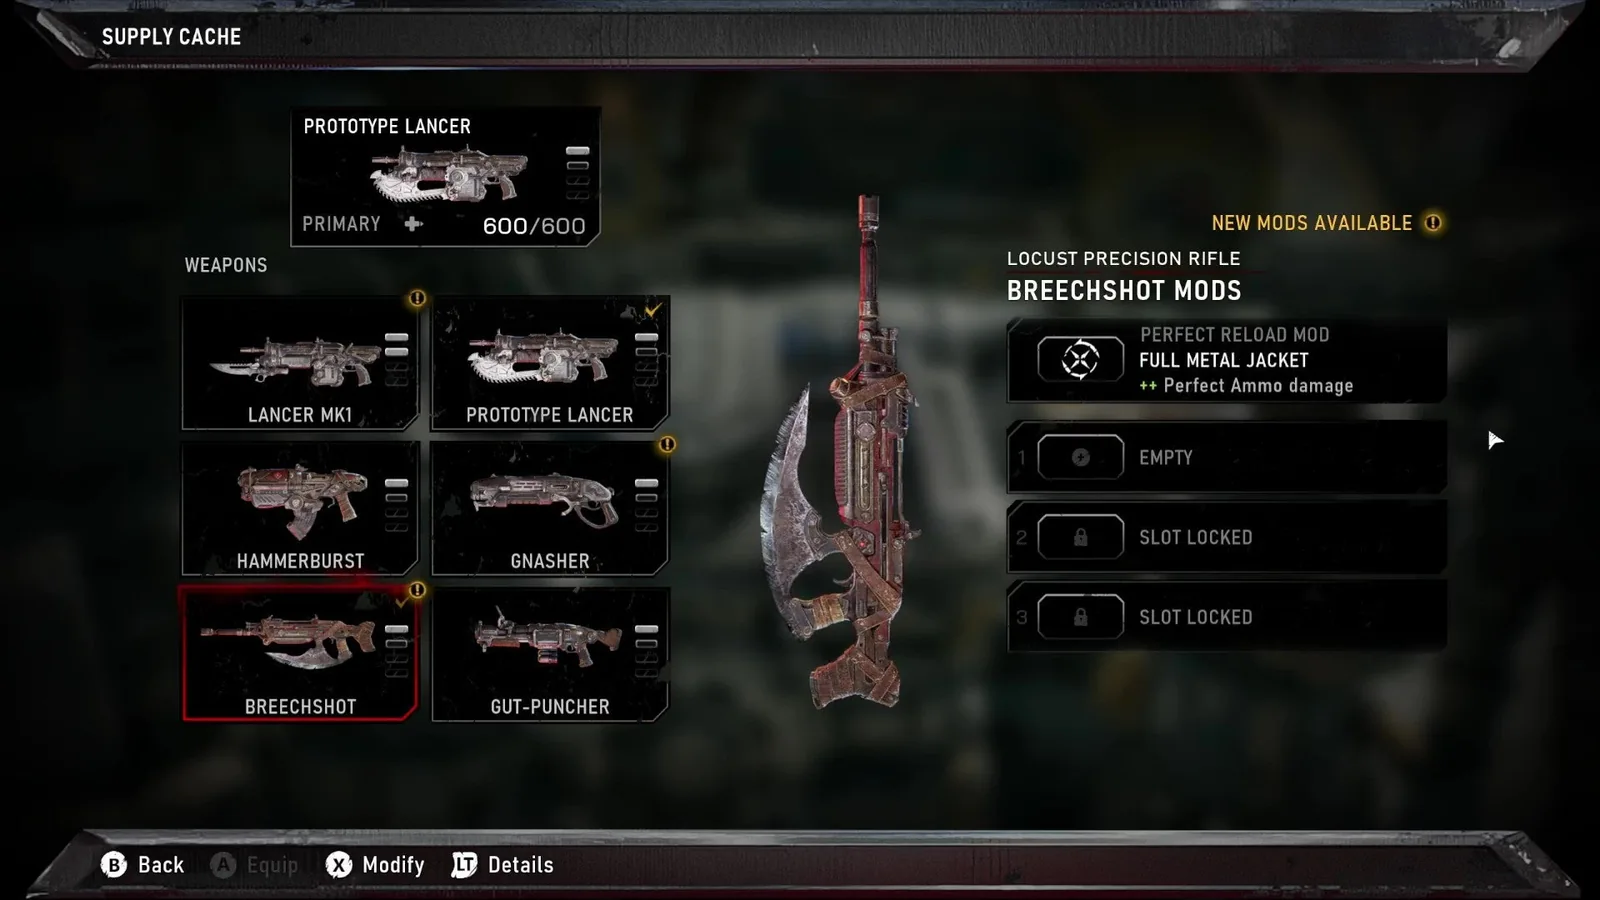
The campaign Supply Cache shows named mechanical modifications and the slots available for a weapon.
A weapon skin and a Weapon Mod can appear near each other in customization, but they serve different goals. Read the effect text rather than assuming the appearance of a special gun proves it has a particular mechanical advantage. This distinction is particularly important when you compare your weapon with another player's cosmetic selection.
Mod names can also repeat across different weapons. A Cover Brace for one weapon is not automatically the same unlocked item as a Cover Brace for another. Inspect the specific weapon and its available choices before deciding that a mod has disappeared. Your success condition is the intended effect applied to the intended gun.
Unlock, purchase, and equip in Horde Siege
Horde Siege class progression has thirty levels at launch. Advancing a class unlocks loadout equipment and modifications, including Weapon Mods. The class track determines when a modification becomes available; Weapon Parts pay for a Weapon Mod after that unlock. Those are separate steps.
- Open the class progression or loadout information for the class you are using.
- Inspect the weapon and the modification you want to obtain.
- Check whether the class-track unlock requirement has been met.
- If it is unlocked but not purchased, check the required Weapon Parts in the menu.
- Purchase the mod when you have enough banked parts.
- Select and equip it for the intended weapon.
- Review the completed loadout before entering another mission.
Do not assume that reaching a level immediately equips every new item. The class may have made an option available while the weapon still uses its previous configuration. Likewise, spending parts does not tell you which slot is selected unless you review the loadout afterward.
Weapon customization is shared across classes in Horde Siege. If you customize a Prototype Lancer for Assault and then equip the Prototype Lancer on another class, the same mods and cosmetics are used. Check the weapon after a class change, especially if you expected each class to maintain a completely independent version of that gun.
For campaign weapon upgrades, use the documented Hard Case route. For Horde Siege purchases, the Weapon Parts guide explains how collection and successful extraction relate.
Know which resources persist
Weapon Parts are the resource associated with purchasing unlocked Weapon Mods in Horde Siege. To retain parts collected during a mission, your squad must successfully extract and complete that mission. At least one squad member needs to get out. Picking up parts during a run is not the same event as banking them for a later purchase.
Energy serves a different role. It is earned by your squad during the mission and spent at Supply Caches on equipment, weapons, and Squad Perks. Squad Perks are temporary buffs that expire at the end of the mission. Do not treat a perk purchased in the field as a permanent weapon modification in your collection.
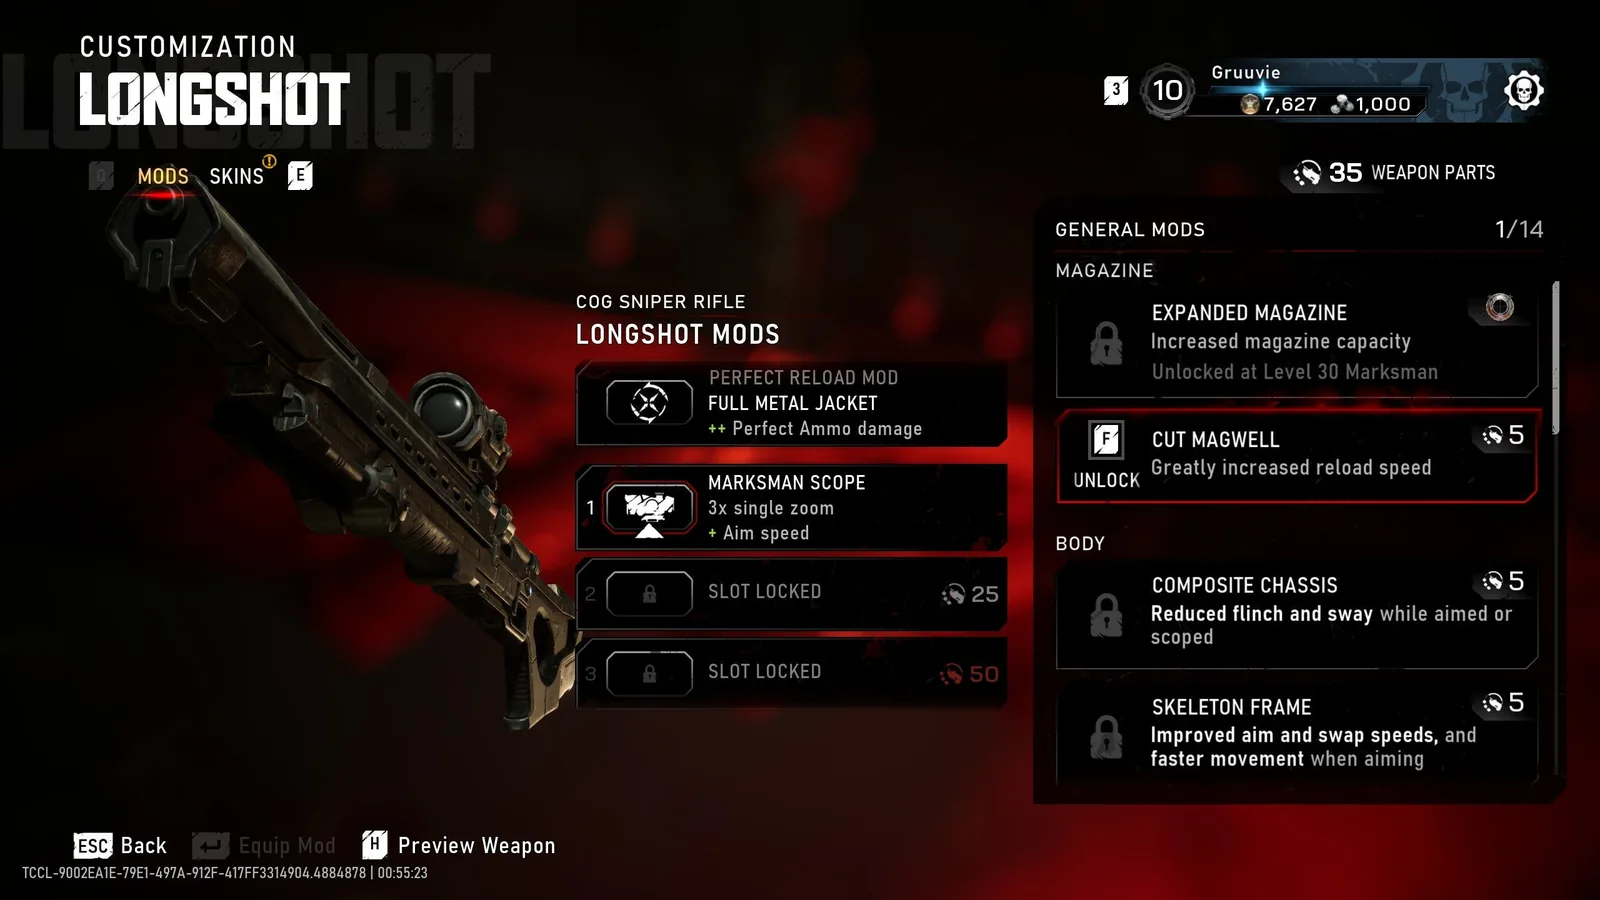
The Horde mod panel separates class-level requirements from Weapon Parts purchases. Values shown identify the interface rather than guaranteeing current balance.
These distinctions explain several apparent unlock problems. If you collected parts but the mission failed, the collection counter is not proof of a retained balance. If you bought a temporary perk, it is not supposed to appear as a permanent mod afterward. If a mod unlocked on the track but remains unpurchased, the class-level milestone completed only the first stage.
Keep the menu's current balance and unlock text as your reference. Older beta reward values should not determine how quickly you expect to buy an item: the September 30 launch tuning reduced some invasion and Weapon Part Stockpile rewards. There is no need to invent an exact farming rate to make the purchase procedure clear.
Campaign mods come from exploration and optional tasks
Campaign modifications give you reasons to investigate Hard Cases and complete secondary objectives. The useful route is to collect options that address your current weapon problem rather than pause every encounter to chase a theoretical perfect build. A first playthrough can benefit from a few purposeful choices without locating every case immediately.
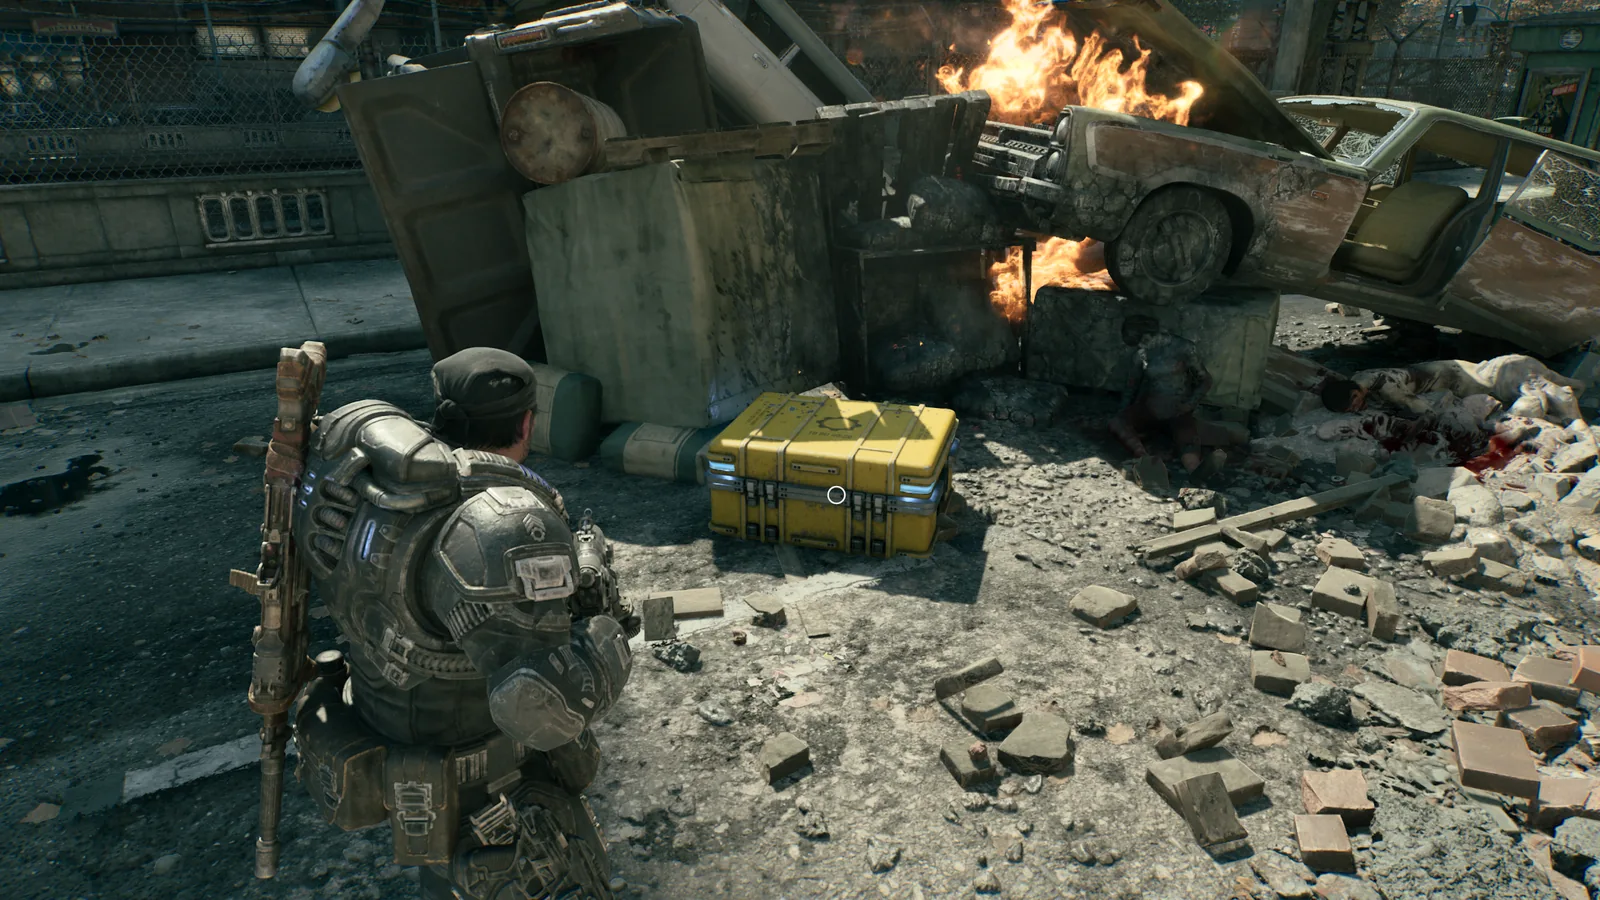
Yellow Hard Cases are campaign search targets for weapon modifications; this frame shows the container before opening it.
Some modifications change an existing strength, while others introduce a tradeoff. A larger magazine can reduce the frequency of reloads but may cost aiming or reload speed. A different ammunition type can change the weapon's role so substantially that you need to pair it with another gun. Read the description as a change in how to use the weapon, not simply as a higher tier of the same effect.
Campaign location examples below identify useful targets rather than provide a complete Hard Case route. Follow your current chapter and objective context. There is no reason to search a later-act landmark while you are still in an earlier mission, and a mod shown in a campaign guide should not automatically be assigned the same unlock requirement in Horde Siege.
Accuracy choices for the Lancers
The Lancer Mk1's starting Police Receiver improves steadiness at the expense of damage. That is a practical choice if control is preventing you from landing shots. A theoretical damage advantage means little when too many shots miss, but the penalty still matters if you already control the weapon well.
Cover Brace and Forged Barrel offer other accuracy options for the Mk1. The campaign Cover Brace comes from the Vanguard secondary objective at the car shop early in Act 2 Chapter 2. The Forged Barrel is found later in that chapter in the building across from the Kalona Hotel. Treat these as alternatives to assess, not as proof that the starting receiver is always wrong.
For the Prototype Lancer, the campaign Cover Brace is in a shipping container at the COG base in Act 2 Chapter 2. Its value is tied to firing from cover. Precision Rifling Barrel becomes available near a Supply Cache in Act 3 Chapter 2 and improves accuracy and critical damage. If you choose these adjustments, use positions that let their strengths matter rather than carrying them while fighting only in the open.
Close-range and flexible-range choices
The Gnasher Bayonet adds a close melee option and supports a very close-range follow-up shot. The campaign reward comes from the Trapped Family secondary objective. This can fit an aggressive approach, but a modification does not make every rush safe. Decide whether you can reach the enemy without exposing yourself to the rest of its group.
The starter Auto-Pouch is another Gnasher option to inspect if the shotgun is often unavailable when you need it. Compare how your loadout handles ammunition and switching rather than treating the bayonet as the only useful choice. A mod should support the pattern of attacks you actually make.
The Breechshot's Combat Scope offers 1x and 2.5x zoom choices. In the campaign, it is found in an alcove near the construction site in Act 2 Chapter 2. This is useful when you want the weapon to serve more than one sightline without replacing it with a dedicated sniper rifle every time the distance changes.
For the Longshot, Precision Long Barrel improves critical damage and accuracy and can be found to the left of the minimart after finding Whiskey Squad in Act 2 Chapter 2. Tactical Scope offers 2x and 4.5x zoom and lies on the route near the beginning of Act 3 Chapter 2 in the tunnels. Choose zoom around the shot you need to make rather than assuming the largest magnification is always easiest to use.
Sustained fire comes with tradeoffs
Hammerburst's Huge Magazine increases capacity at the expense of aiming and reload speed. Its campaign location is the bank vault in Act 2 Chapter 2. That change is useful when extended firing solves a real problem, but it can be less attractive if the slower handling makes each engagement harder to control.
Hammerburst Cover Brace is found in Act 2 Chapter 5 after the tank-warehouse skirmish, before you leave through the hole in the wall. It supports a different priority: a steady firing position rather than maximum capacity. Compare the benefit with the way you normally use the weapon instead of installing every available change without considering the combination.
The Ripper's starting Twinned Ammo is a useful option to inspect for heavy enemies after a perfect reload. Gas Regulator, found in Act 3 Chapter 3, removes the ramp-up and changes the weapon to a slower consistent firing speed. That trade can appeal if you value predictable response more than the original firing behavior.
Mods that change the weapon's job
The Gutpuncher's Concussion Rounds remove damage in exchange for a larger area and a stun effect. The campaign mod is next to a Supply Cache in Act 2 Chapter 3 after the Seeder-mortar fight near construction scaffolding. This is a role change, not a simple damage upgrade: plan another weapon for finishing enemies you stun.
It also removes a useful function. Concussion Rounds do not close emergence holes. If the next fight needs you to seal a hole, do not assume the launcher still performs that task just because it looks like the same weapon. A modification's lost capability can matter more than its gained effect in a specific encounter.
The Torque Bow's Primed Coils improve the charge response after the weapon has been stowed for a while. It is found in Act 4 Chapter 3 inside the train car after the Trapped Locust secondary objective. High-Explosive Bolts increase blast size and damage but reduce charge speed; their campaign location is a warehouse's second floor in the same chapter, reached using pallets beside a forklift.
Those two Torque Bow choices illustrate a purposeful combination. One supports a quick return to the weapon, while the other introduces a charge-speed cost. Assess the combination in your normal weapon-switching pattern rather than assuming the pair removes every drawback in every situation.
Check a configuration before committing to it
Change one modification at a time when you are still learning the weapon. Keep the other choices stable and compare whether the change solves the intended problem. Useful observations include missed shots, unnecessary reloads, difficulty controlling recoil, and whether the weapon is ready when you switch to it.
Then inspect the whole loadout. A stun-focused launcher needs another damage option, a close-range gun needs a workable approach, and a scope needs a useful sightline. Armor and Tactical Gear choices can support those decisions, but they should not replace the basic plan for how you will survive and contribute.
Finally, remember the mode boundary. Campaign and Horde Siege give you modification choices; Versus does not carry those weapon upgrades into its fair-start matches. If your modified gun behaves differently in PvP, first check the mode's rules rather than assuming your PvE purchases failed. A complete mod setup is an unlocked, purchased where required, equipped option used in the mode that supports it.