Build scope: The Marksman recommendations focus on documented precision and spotting roles. We have not performed a site-owned critical-damage or clear-time benchmark for this loadout.
Build Marksman around a Longshot you can aim consistently, a second weapon that handles nearer threats, and a Pulse Drone that tags enemies for the squad. The class increases critical-hit damage, so accurate target selection matters more than chasing the highest displayed total damage. Keep a protected sightline and move when the objective moves; a distant sniper position is useful only while it helps the team complete its current task.
Start with the Longshot and Hammerburst. Improve precision, handling, or ammunition reliability according to the shots you actually miss. There is no verified universal post-launch damage setup or guaranteed one-shot breakpoint for every Horde enemy. Campaign mod locations and beta difficulty demonstrations should not be treated as the unlock requirements or damage rules for your current Horde Siege class.
Create a build with a second line of defense
The Longshot handles precision damage across longer sightlines. The Hammerburst provides a starting answer for targets that do not give you a clean sniper opportunity. Use both. Refusing to change weapons while several enemies reach your cover can turn a good long-range build into an unnecessary down.
| Build component | Purpose | Choice to favor |
|---|---|---|
| Longshot | Accurate damage on visible critical targets | Precision and handling that improve your actual hit consistency |
| Secondary weapon | Nearby enemies and interrupted sniper shots | An unlocked weapon you can control without prolonged scoping |
| Pulse Drone | Shared target awareness | Coverage and availability suited to the objective |
| Armor Mods | Maintain a useful firing position | Survival, ammunition, or handling for the failure you encounter |
| Equipment | Secure the next position | A grenade or defensive item chosen around the current mission |
Marksman's critical-damage bonus does not make every body shot equivalent to a critical hit. Your loadout should help you identify and hit the target's vulnerable area. If you repeatedly miss while using an awkward scope or an exposed position, address that before spending more resources on a damage-oriented choice.
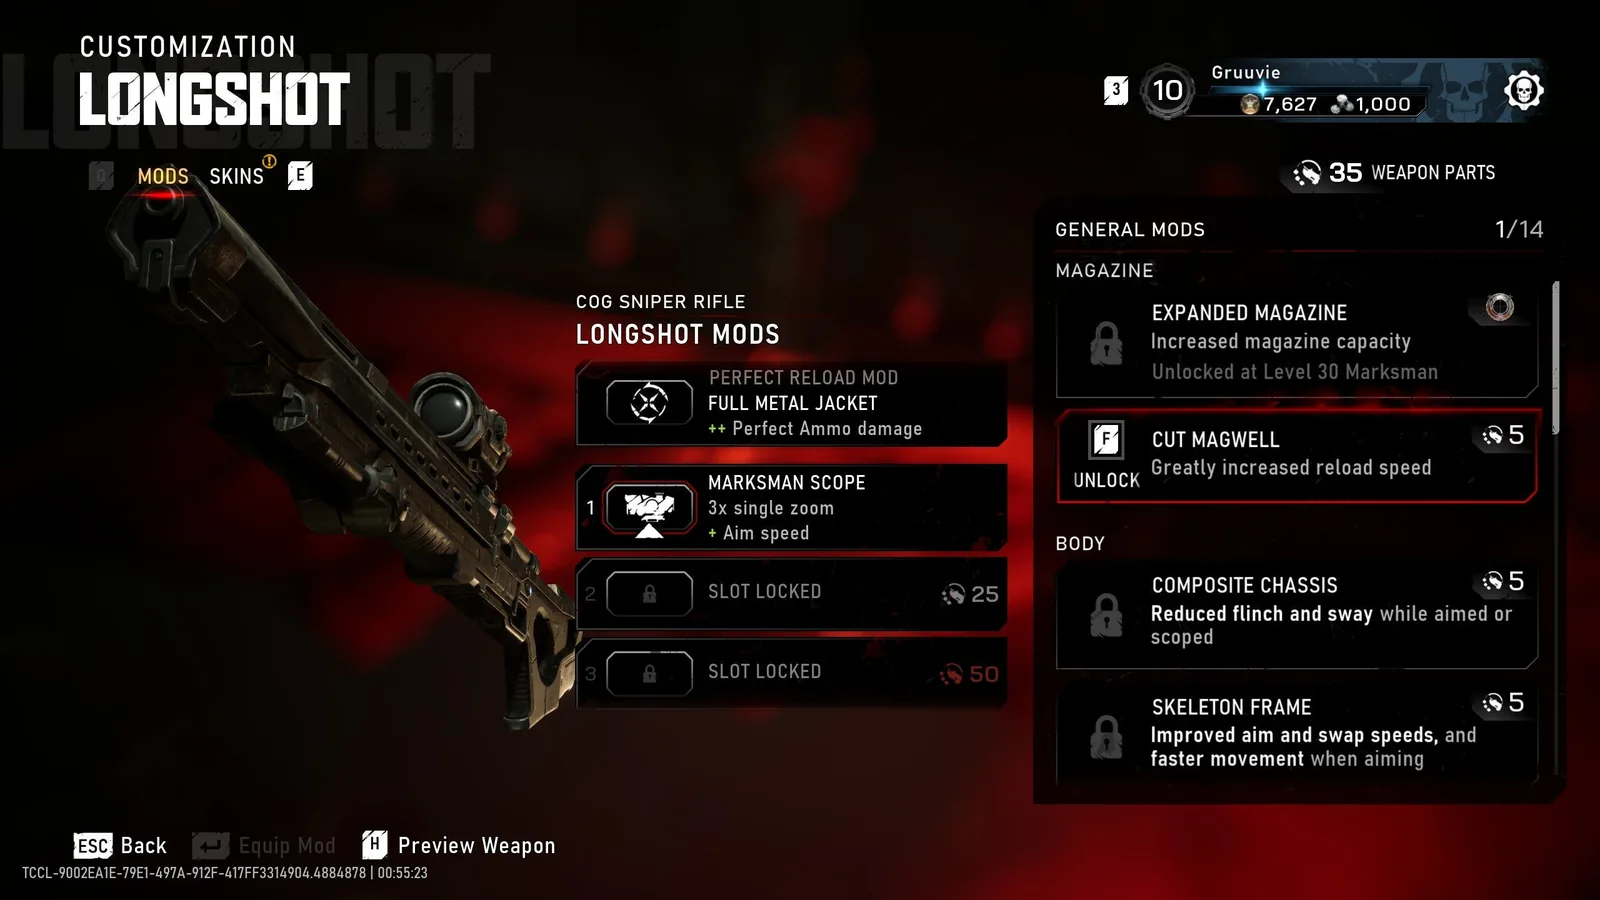
The Longshot menu separates the weapon from the available modifications; choose upgrades for the aiming problem you actually face.
Choose the Longshot upgrades for consistency
Longshot mod options can alter precision, scope behavior, and ammunition handling. Use the current weapon menu to confirm what you have unlocked and what each choice changes. An accuracy or critical-damage direction suits the class, but the strongest theoretical combination is not necessarily the easiest one for you to execute.
Precision Long Barrel is described as improving critical damage and accuracy. Consider that direction when the option is available in your Horde weapon customization. It supports the job the Longshot already performs. It does not remove the need to expose a usable target or compensate for repeated shots into armor.
A different scope can improve identification at range, but excessive zoom can make closer engagements awkward. Choose the view in which you can find the enemy and line up a shot quickly. Do not choose a high magnification simply because it appears later in progression. A comfortable lower magnification may work better on an objective where targets move among nearby buildings.
A magazine improvement can reduce interruption between opportunities when it is available. It is most useful when you consistently have several worthwhile shots before the next safe reload. If you routinely miss the first shot and then panic, a larger magazine may hide the underlying aiming problem rather than solve it.
Keep Campaign discoveries separate from Horde progression
Campaign has weapon modifications found through exploration and activities. Horde Siege connects its loadout choices to class progression and Weapon Parts. Finding a Campaign mod at a particular chapter location is not proof that a Horde Marksman can equip it immediately.
In Horde Siege, choose Edit Class and inspect the Gear and Loadout options. Confirm the weapon itself, the available modification, and the slot needed for it. A weapon mod unlocked through progression still needs to be purchased with Weapon Parts before it can be equipped. Make the purchase for the weapon you intend to use, rather than following a Campaign collection route for a different system.
Horde weapon customization is shared across classes. A customized weapon retains its setup when another class equips it. Check that setup when switching classes: a previous configuration may prioritize a different kind of fight. The shared weapon is convenient, but the new class still has its own progression and Tactical Gear.
This distinction also applies to Versus. PvE weapon modifications do not carry into its equal-start loadouts. A Horde sniper build should be evaluated in the mode where its upgrades operate, rather than used to explain a PvP result.
Give the Pulse Drone a clear purpose
The Pulse Drone tags Locust for you and your squad. Use it to improve the next engagement, not simply whenever an icon becomes ready. A helpful activation can reveal the enemies threatening an approach, identify targets around the defended position, or make a crowded fight easier for teammates to read.
Coverage for the current objective
Choose range improvements when your problem is meaningful targets outside the useful scan area. Before spending a slot on that effect, check your position. If you are standing far from the actual fighting, moving closer to a protected squad position may solve the coverage problem while also improving your ability to help.
Duration improvements are sensible when the team needs the tagged information across a longer combat window. They are less useful when you trigger the ability before reaching the fight and spend the effect traveling. Position first, then activate when the squad can act on what it reveals.
Availability between encounters
Cooldown improvements can help when the squad repeatedly enters another engagement before the Drone is ready. Keep this choice connected to your mission's pace. A moving Siege run and a prolonged defense can create different gaps between useful activations.
Tell teammates what the Drone reveals. A scan does not choose a target for the team. Call the enemy controlling a dangerous lane or the threat approaching a component carrier. Marksman brings more value when its information guides the squad's next action.
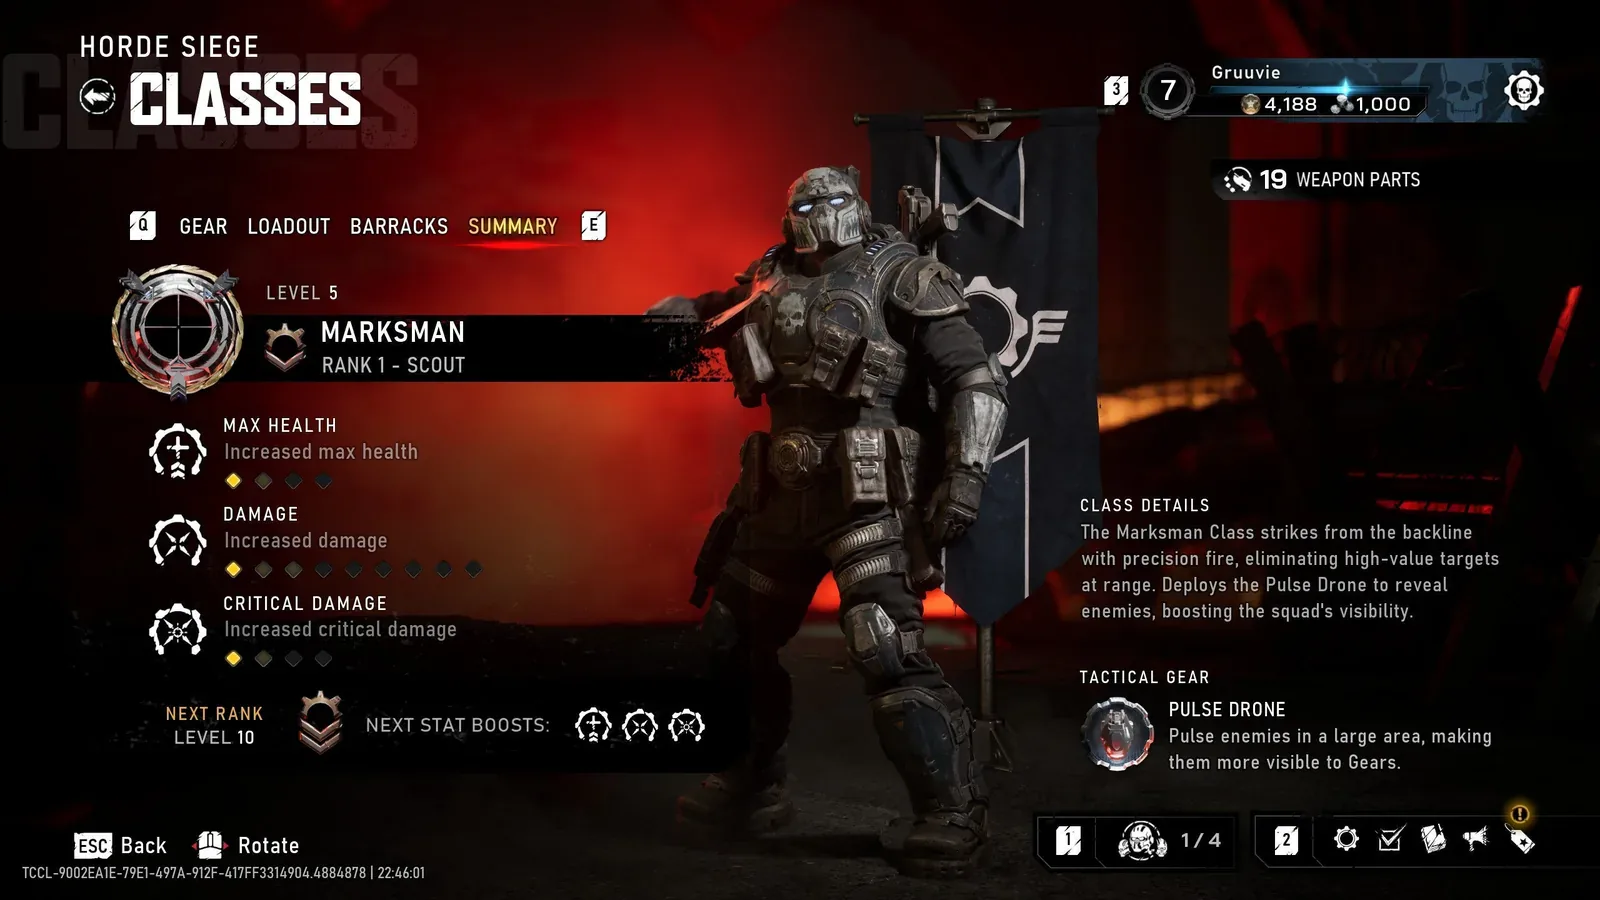
Identify the Pulse Drone in the class summary before planning when its shared information will help the squad.
Use Armor Mods to support the firing cycle
Armor Mods can change health, ammunition reserves, weapon swap speeds, and other soldier properties. Choose a benefit around your Marksman routine: acquire the target, take the shot, reload or swap, check nearby pressure, and relocate if the lane has become unsafe.
Extra ammunition is useful when a long defense repeatedly exhausts your supply. Faster swapping can matter when you need the secondary weapon before a close enemy reaches you. A survival improvement is sensible when unavoidable exposure repeatedly costs the squad a rescue. These choices answer different failures, so do not stack whichever stat looks most impressive without checking what actually ends your useful firing time.
Avoid an execution-focused arrangement unless your normal position regularly offers safe executions. Moving away from the defended line just to activate a bonus can erase the benefit of your protected sightline. Similarly, do not expect a critical-hit effect to sustain a build when your current accuracy rarely produces critical kills.
Reload behind protection whenever the encounter gives you time. The weapon's next shot should be ready before you begin looking for another vulnerable target. If a nearby enemy interrupts that cycle, switch weapons and stabilize the position rather than forcing a sniper shot you cannot line up.
Use a low-level version before chasing specialist unlocks
Keep the Longshot and Hammerburst while learning where useful sightlines exist. Pick the unlocked mods that make aiming and staying supplied easier. You do not need every future scope, magazine option, or Tactical Gear slot to perform the class's basic role.
At low levels, fight at a difficulty appropriate to your current class progress. Horde Siege recommends Infantry for class levels 10–20, Commander for 20–30, and Allfather for max-level classes. Those are recommendations, not a guarantee that a particular level can survive every encounter. Launch tuning also increased Commander and Allfather difficulty.
Check newly unlocked equipment after completed missions. A stronger weapon configuration does not replace class health and damage progression. Raising difficulty solely because one sniper upgrade looked strong in a clip can leave you unable to recover when the mission forces close-range movement.
Practice target acquisition before adding complex play. Choose a visible enemy, identify the usable shot, fire, then immediately check whether another threat is entering your position. The repeated check is part of the build: it keeps you from spending an entire defense inside the scope while the flank collapses.
Position around the objective rather than maximum distance
Defend and Horde
For a R.I.G. defense, choose cover overlooking an approach that the squad needs controlled. Leave another teammate room to cover the nearer lane. Your position should give a useful view without making teammates cross a dangerous route every time you go down.
When an enemy moves out of that sightline, do not pursue automatically. Check whether it is threatening the R.I.G., a teammate, or simply moving into another player's lane. Maintain the role that lets the squad hold several approaches instead of all chasing the same target.
Repair and Calibrate
Repair tasks require component collection and reinstallation. Watch the carrier's route and remove the enemy making that route unsafe. The best target may be a less dramatic enemy with a clear angle on the carrier, rather than the largest creature visible elsewhere.
During Calibrate, move with the defended zones. A perfect sniper perch overlooking the previous area becomes irrelevant once the fight has moved. Relocate before teammates are too far away to help you and before your Drone coverage stops supporting their position.
Secure and final extraction
For Secure, support the squad's advance with a clear view of the next contested position. Move after the opening has been created. Avoid staying so far behind that the team loses your damage during the actual push.
At extraction, use the sightline to help clear pressure around the landing zone, then board when the opportunity is available. At least one member of your own squad must extract to complete the mission and retain collected Weapon Parts. Do not remain behind for a final sniper shot after the rest of the squad is ready to leave.
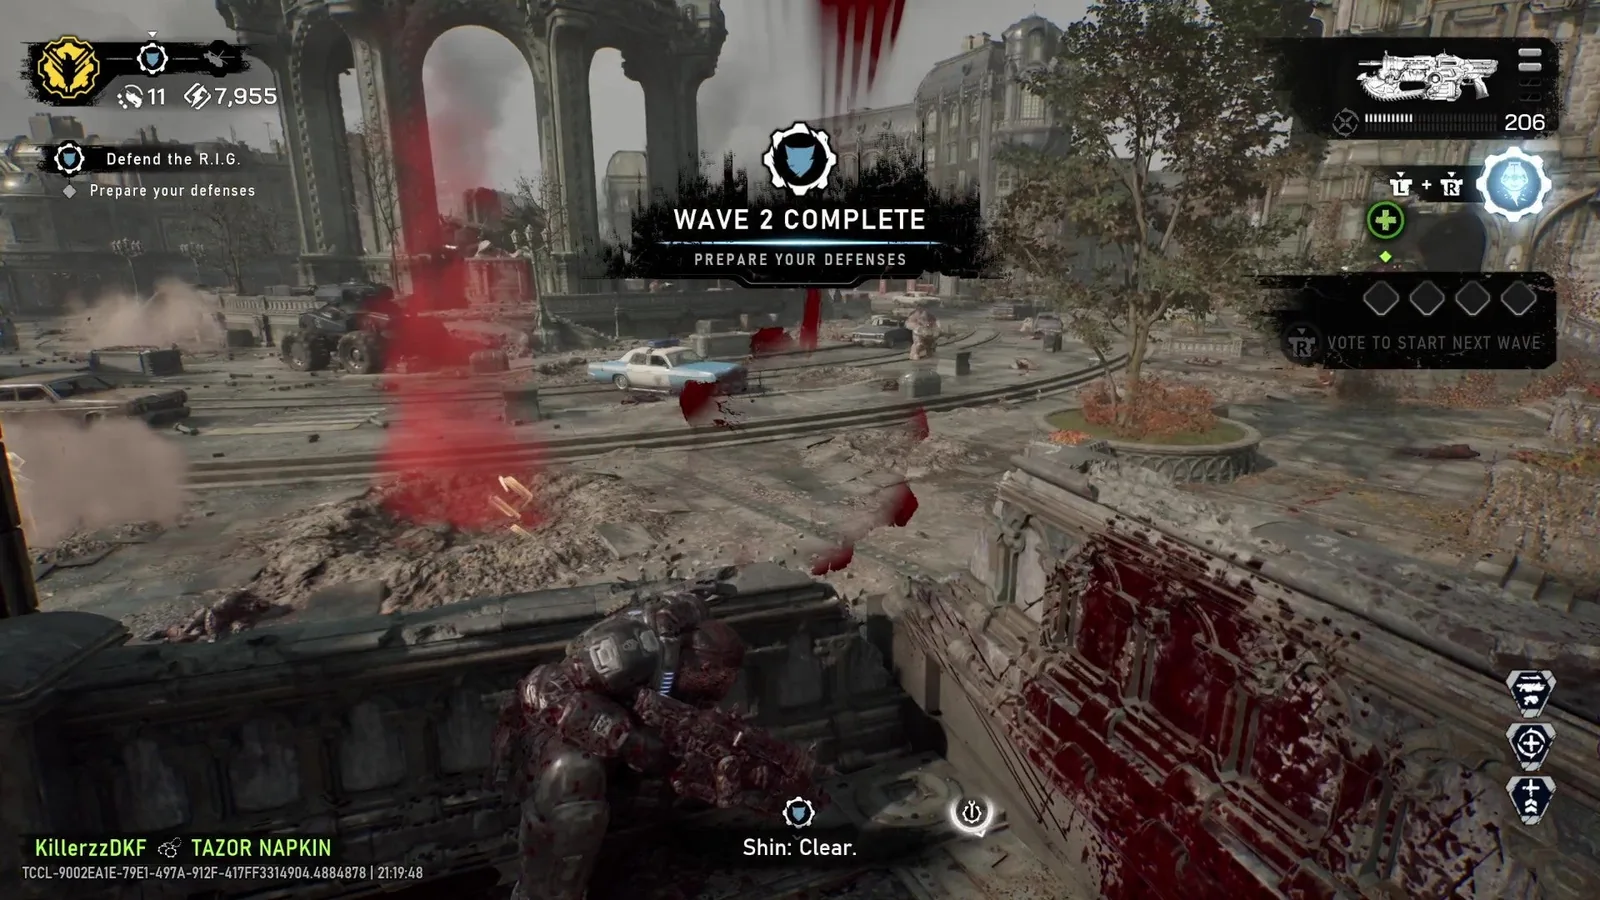
This objective-facing cover position illustrates a visible defensive approach. The screenshot does not demonstrate a sniper shot.
Select targets that change the fight
Look first for enemies preventing your squad from doing its job: a threat pinning the carrier, a ranged enemy controlling the next cover, or a dangerous unit approaching the defense. A clear critical shot on that enemy can be more valuable than spreading damage across several targets.
Enemy behavior still determines whether a shot is useful. Some enemies create protected and exposed moments. For example, a Seeder's head becomes exposed when it flips out of its hole. The class's critical-damage strength is a reason to use that opening, not keep firing into a protected surface and assume a larger damage bonus will solve it.
Call targets before teammates commit. Marksman and Breacher work well when ranged pressure is reduced before the close approach. With Assault, use stun opportunities to line up a controlled shot. With Medic, keep a position that lets support reach you if incoming pressure breaks the firing lane.
Review the build without relying on the damage total
After a mission, distinguish missed shots, unavailable ammunition, and unsafe positioning. If shots consistently land but the squad cannot move, your target selection may need work. If teammates repeatedly rescue you from the same perch, relocate or choose a survival improvement. If the Pulse Drone is always ready but rarely helpful, adjust its timing before modifying it.
Change one meaningful choice for the next comparable mission. Keep the weapon you can use reliably while checking whether a new mod solves the identified problem. A useful Marksman build produces clear information, controlled priority kills, and a squad that can finish objectives without repeatedly leaving its own position to recover you.