Medic is the most useful first choice when your squad keeps losing players during otherwise manageable fights. Assault is a straightforward choice for familiar rifle play from cover. Marksman suits consistent precision shooting across longer lanes, while Breacher suits controlled close-range pushes supported by the Adrenaline Injector. These are role recommendations, not a verified universal damage ranking.
Pick the class that fixes the squad's repeated failure and that you have progressed enough to use at the selected difficulty. A max-level showcase and a low-level starting class are different comparisons. Launch tuning changed weapon damage, Medic stim duration, equipment costs, and high-difficulty encounters, so a beta tier list cannot establish the strongest current class for every player.
Choose by the job the team cannot complete
Each class has its own starting loadout, combat bonus, progression, and Tactical Gear. They can use any character skin, so the character you want to play does not force the combat role. Choose the role before you worry about the appearance.
| Squad need | Class to consider first | Defining reason | Condition that changes the choice |
|---|---|---|---|
| Recover frequent downs | Medic | Area healing and revives through Stim Vaporizer | Support must remain within useful range |
| Hold a mid-range lane | Assault | Cover damage and Sonic Disruptor stuns | The position must actually overlook the objective |
| Remove exposed priority targets | Marksman | Critical damage and Pulse Drone tags | You need consistent precision shots and safe sightlines |
| Break nearby enemy pressure | Breacher | Close damage and Adrenaline Injector survival | The approach needs support and a retreat |
The table is a starting decision, not an instruction that every squad must contain one of each. Horde Siege permits repeated classes. A balanced four-role group makes the division of work easy to understand, but a repeated role can work if the squad still covers range, recovery, and objective movement.
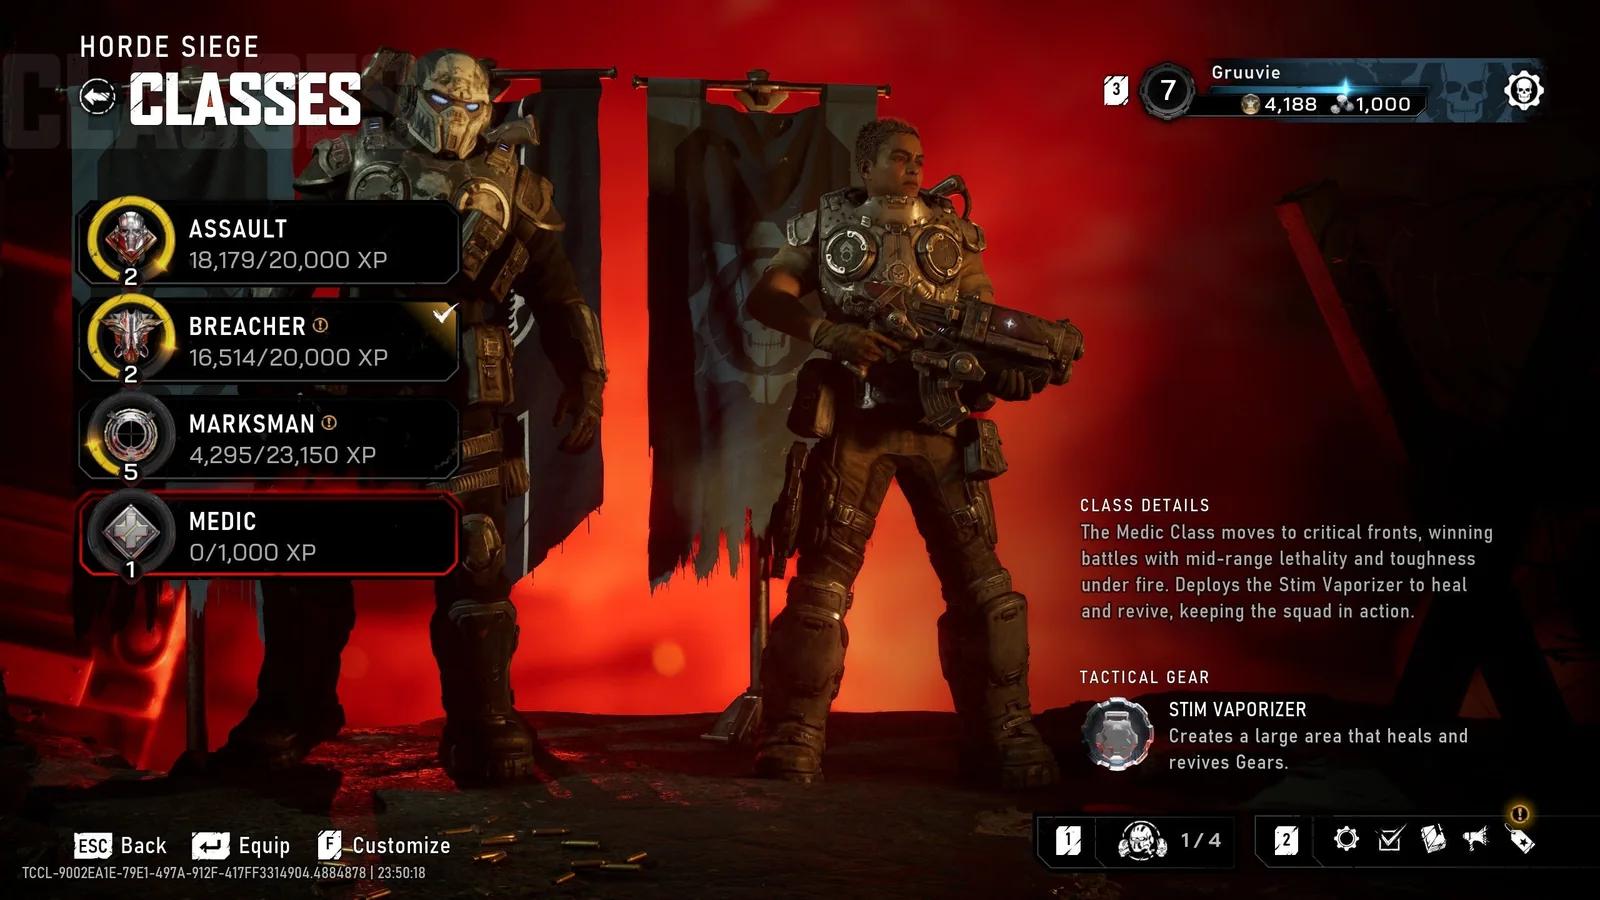
The class menu identifies all four roles before you commit to one.
Pick Medic when failure starts with a downed teammate
Medic fights at mid-range, regenerates health faster, and can deploy a Stim Vaporizer to heal and revive nearby Gears. It can also help downed soldiers from other squads. That makes it valuable when a fight becomes difficult because standing players are repeatedly interrupted to rescue someone.
The recommendation is about recovery capacity. It does not mean Medic is invulnerable or the highest-damage class. A Medic who rushes beyond support distance or spends every ability before the dangerous objective may not solve the problem that made you choose the class.
Use the role when you are willing to watch teammates as well as enemies. Stay near the part of the objective where the squad is taking pressure. Your weapon should help clear the enemies around a rescue, so revived players can regain a usable position instead of immediately being downed again.
If the squad already has a Medic providing dependable support, another role may solve more. A second Medic does not automatically remove a distant ranged threat or protect a component route. Decide whether the team needs extra recovery or fewer situations that cause the recovery emergency in the first place.
Pick Assault for a clear cover-based starting routine
Assault is focused on mid-range weapons and receives additional damage while in cover. Its Sonic Disruptor stuns incoming enemies, making it useful for defending an objective and opening a controlled push. Its starting Prototype Lancer and Gnasher pairing gives a familiar rifle role with close defense.
This is a sensible beginner recommendation because the job is easy to recognize: find relevant cover, keep the lane controlled, and stun pressure before it overwhelms the team. You can learn the mode's objectives while contributing without chasing every enemy across the battlefield.
The class still needs active decisions. Remaining behind distant cover after the squad moves wastes both your damage and the Disruptor's usefulness. A cover bonus should reinforce a good position rather than convince you to keep a bad one.
Choose Assault when you enjoy tracking targets with a rifle and changing position with the mission. If you mainly want to fight at close range or pick deliberate critical shots, one of the specialist classes may feel more natural. Familiar weapons are helpful, but comfort with the class's actual job matters more than its name.
Pick Marksman when accuracy is your reliable strength
Marksman increases critical-hit damage and uses a Pulse Drone to tag Locust for the squad. Its starting Longshot and Hammerburst support precision at range with a fallback for nearer enemies. It makes sense when you can consistently select exposed targets and maintain a protected firing position.
The benefit is more than a large damage number. Removing the enemy pinning a carrier or threatening a defensive lane gives teammates room to complete the task. Drone tags also make a chaotic fight easier to read, particularly when enemies move among several pieces of cover.
Marksman is less attractive if you spend most of an objective searching through a scope while close threats reach your position. You need to check flanks, change weapons, and move when the defended area changes. Long distance alone does not guarantee safety.
If another squad member already covers a long lane, choose Marksman only when a second precision role still addresses a need. Several ranged players can produce impressive output while leaving no one prepared to recover a down or remove an enemy already inside the defensive position.
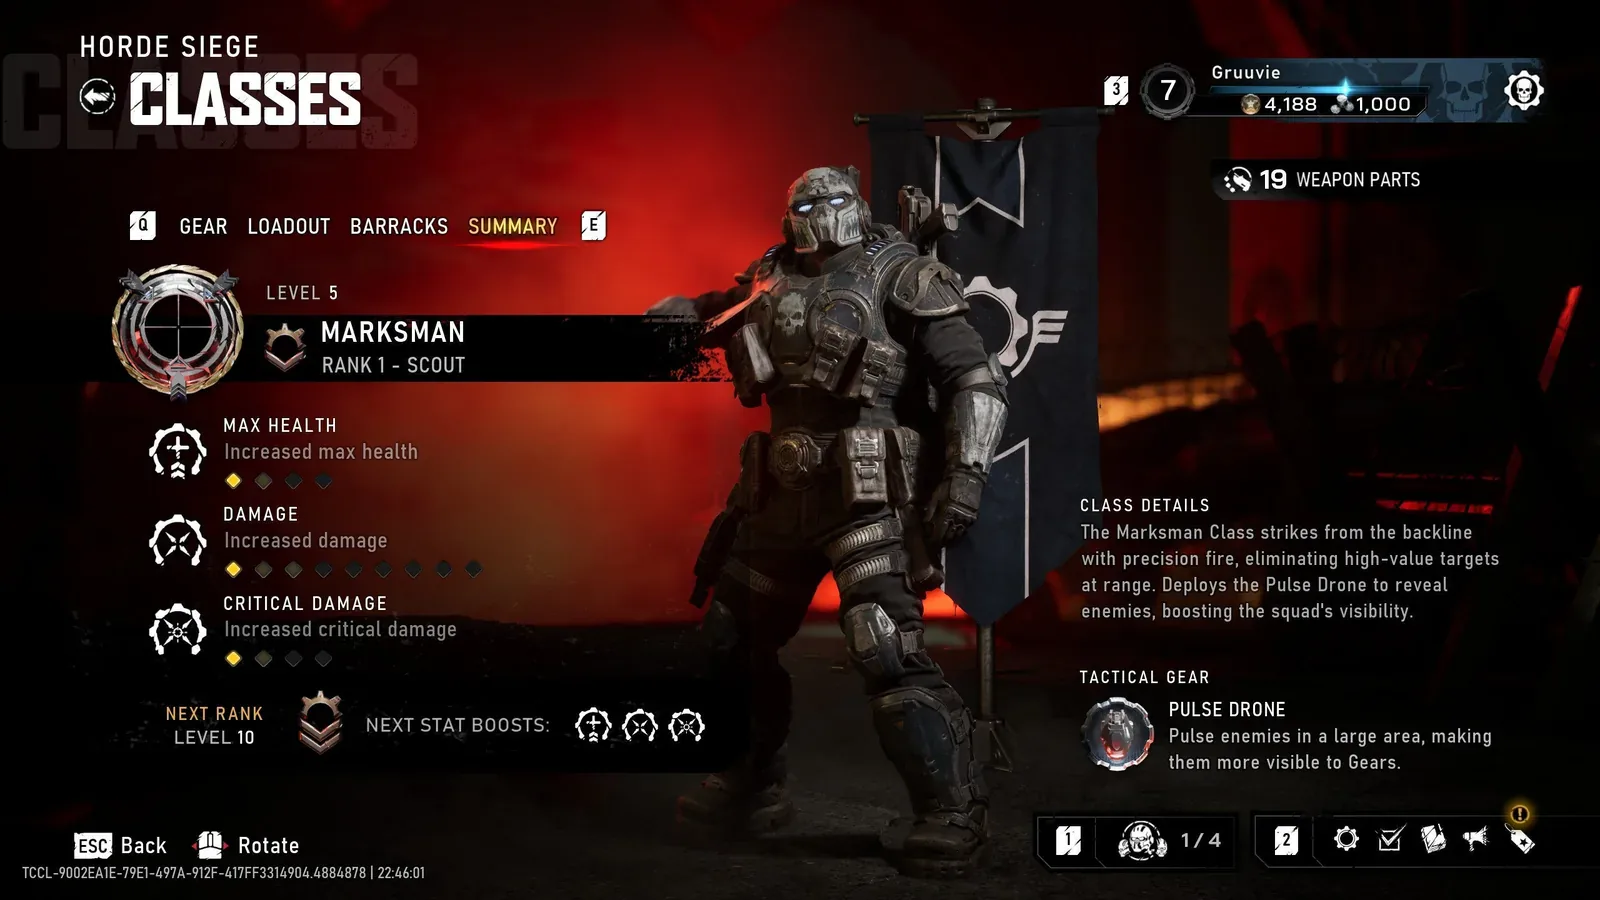
The summary identifies the precision role and Pulse Drone; it does not show a live scan or a damage test.
Pick Breacher for controlled aggression
Breacher focuses on close-range damage. Its Adrenaline Injector refills health and reduces damage, while its class bonus improves resistance to status effects and melee damage. The starting Gnasher and Lancer Mk1 can cover a frontline role without requiring a complete late-level setup.
Choose it when you can identify an opening, reach a useful target, and return to support. A close-range class is valuable for clearing pressure around the objective or helping a carrier through a contested route. It is less useful when every attack becomes an unsupported chase into the enemy back line.
Later builds can connect adrenaline kills with healing, duration, or cooldown effects. Those connections help explain why a progressed Breacher can feel different from a starting one. They also explain why copying only the weapons from a showcase does not reproduce the whole setup.
Do not choose Breacher solely because a creator calls it impossible to kill. Damage reduction is conditional protection, and kill-triggered effects need kills. Distant enemies, heavy pressure from several directions, or unfavorable modifiers can force the class to use cover and a ranged fallback.
Compare classes at the progression you actually own
Each launch class has 30 levels. Leveling unlocks weapons, equipment, Armor Mods, Tactical Gear Mods, and Weapon Mods. Key milestones also increase base health and damage. Class progression matters to the difficulty you can reasonably attempt, not only to how many options appear in the menu.
| Difficulty | Official class-level recommendation | Decision to make before queuing |
|---|---|---|
| Infantry | Levels 10–20 | Can the selected class support its role with its current unlocks |
| Commander | Levels 20–30 | Can the squad complete objectives without repeated recoveries |
| Allfather | Max-level classes | Is the whole group prepared for the encounter pressure |
These recommendations are not guarantees or rigid access rules. Avoid moving a new class into the same difficulty you used with a fully progressed class simply because the player controlling it is experienced. A strong aim or shared weapon setup does not replace every class stat and Tactical Gear upgrade.
Horde weapon customization is shared when another class equips the same weapon. That gives a new role access to a familiar customized weapon once it can equip it. It does not make class levels, class bonuses, and Tactical Gear progression universal.
Match the squad to the mission's actual demands
Short Blitz runs
Blitz is built around one or two objectives and shorter sessions. Choose a class whose job you can perform immediately. A new player can use Assault to learn cover-based defense or Medic to help the squad recover, rather than waiting for an entire future build before becoming useful.
The short format still requires extraction. Do not choose a class entirely around finishing one early objective if the squad cannot survive the landing-zone fight. Recovery, ammunition, and a close-range answer remain relevant at the end.
Moving Siege missions
Siege contains more opportunities to traverse the map and complete activities. Pick classes that can work together while moving. Marksman should watch the route the team is taking; Breacher should help create a safe opening; Assault should support the covered advance; Medic should stay within reach.
Avoid spreading into four separate roles on four separate streets. The classes complement one another only when their contributions reach the same task. A perfect role assignment on the lobby screen cannot fix a squad that never acts on the same objective.
Ten-wave Horde defense
The Horde playlist asks the squad to defend a R.I.G. through ten waves. Think in terms of covered lanes, close pressure, recovery, and supplies. Choose the missing job rather than assuming one class is sufficient to handle every approach for the whole defense.
Repeated classes can work, but agree on the division of lanes and resources. Two Marksmen should not both aim at the same distant enemy while the near approach is unprotected. Two Medics should communicate support readiness instead of both using their tools for the same minor injury.
Use this process before changing your main class
- Name the repeated failure: a lost carrier, a collapsing lane, missed priority targets, or uncontrolled downs.
- Check whether the failure is caused by class coverage or by positioning and communication.
- Compare the proposed replacement's current level and available equipment with the selected difficulty.
- Agree on what the new player will do during the next objective.
- Run a comparable mission and check whether that specific failure becomes less common.
A class change is helpful when it changes the squad's ability to complete the task. If the same failure happens because everyone ignores the carrier or refuses to regroup, swapping roles may only disguise the underlying problem.
Avoid ranking a class from one damage total
A Medic's useful revive can preserve the mission without leading damage. A Marksman's target selection can make a route safe without firing at every enemy. Assault's stun can create an opening another player gets credit for finishing. Breacher can remove close pressure so the rest of the team keeps working.
Assess those contributions alongside deaths, rescues, objective progress, and extraction. At least one member of your own squad must extract for the mission to complete and its Weapon Parts to be retained. A high-damage class that repeatedly prevents that outcome is not the best choice for that squad.
Keep your first main class long enough to learn its unlocked options and build a reliable routine. Switch when a different role clearly fits your preference or solves the group's missing job. The useful class decision is specific: who covers this lane, who helps this carrier, and who keeps the squad functional when the final fight turns dangerous.