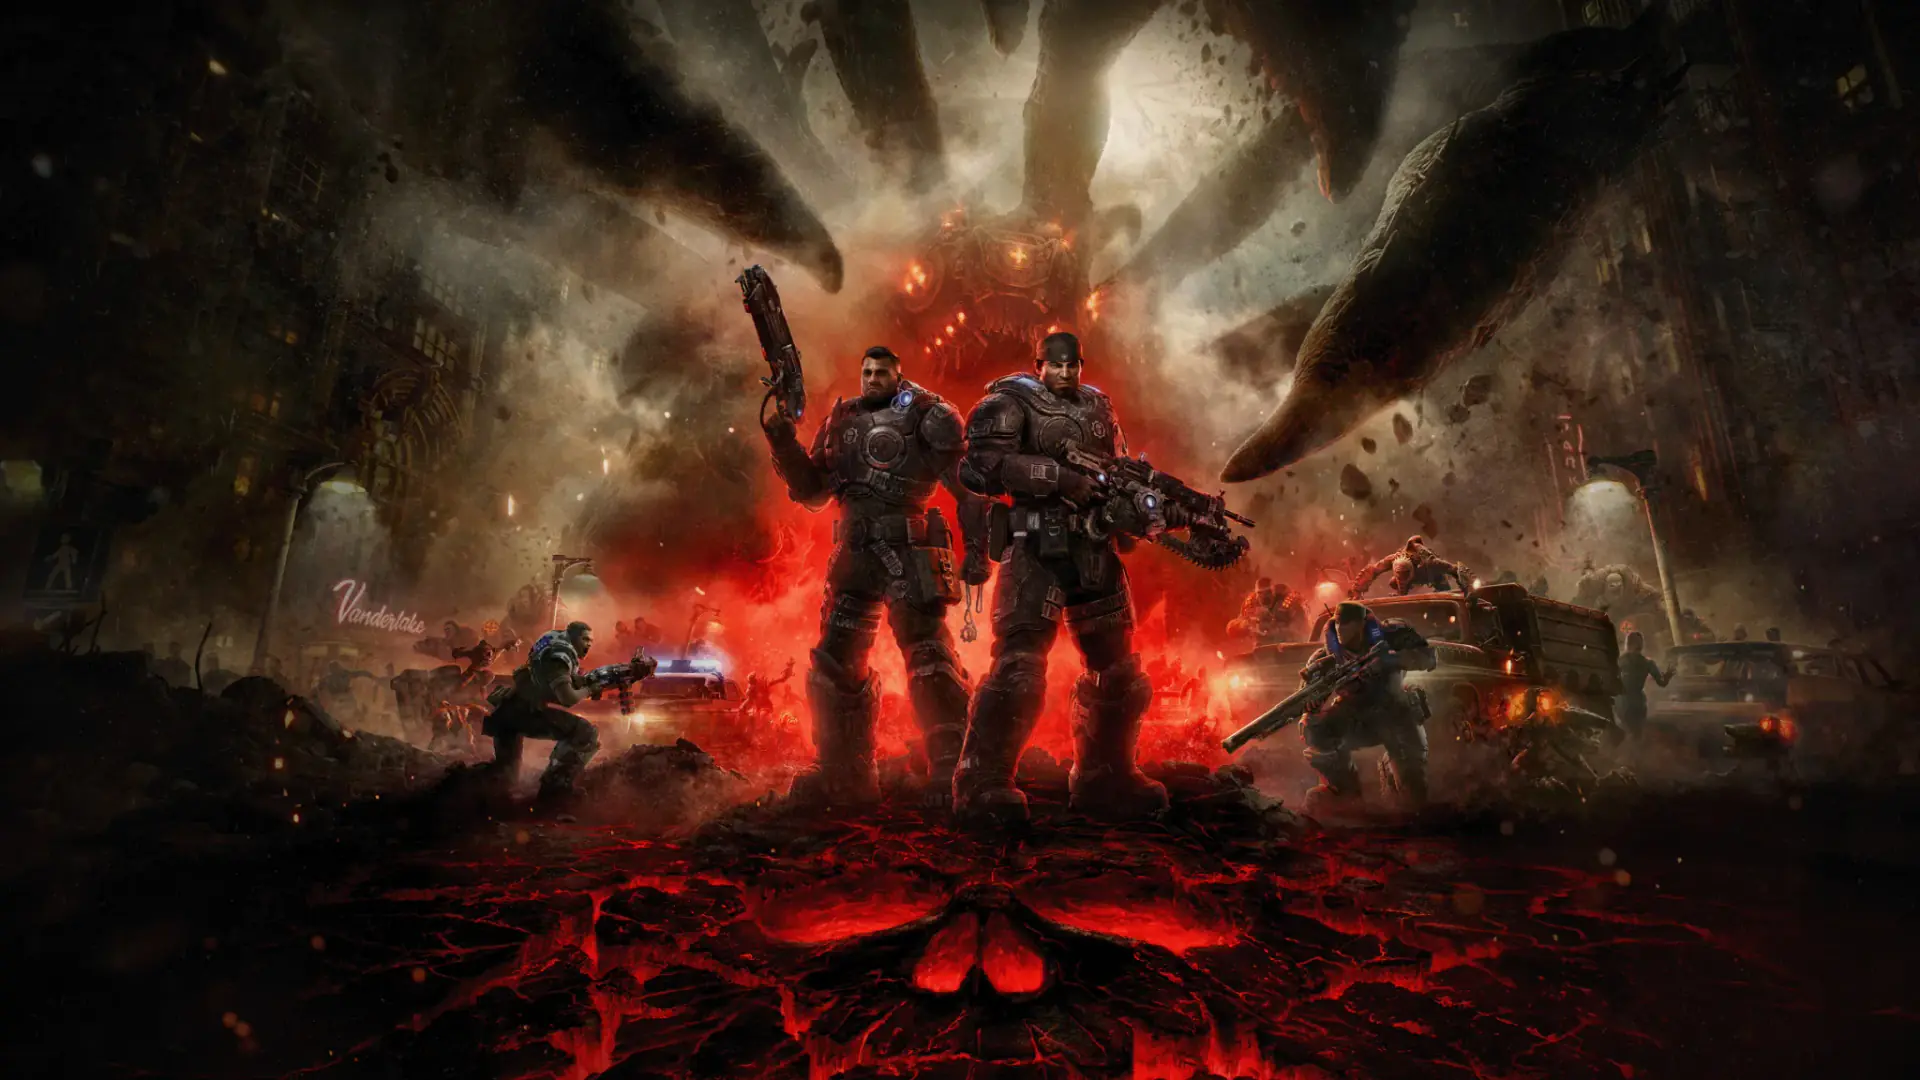
Start with Boot Camp, practice moving between useful pieces of cover, and enter fights with a weapon suited to their range. In Campaign, read the battlefield and use the squad's pressure to find an opening. In Horde Siege, complete the assigned objective and protect the final extraction. In Versus, help your team control positions and Power Weapons rather than expecting PvE upgrades to carry the fight.
The biggest early improvements come from making fewer unsupported moves. E-Day adds sliding, jumping, climbing, and shoulder swapping, but mobility does not remove exposure. These tips focus on the decisions that make your first sessions more reliable; precise builds, collection routes, and individual bug fixes need their own deeper instructions.
Learn the controls before the first difficult encounter
Boot Camp is a short course for new and returning players to learn E-Day's controls and mechanics. Use it even if you know an older Gears game. A familiar button or movement habit does not guarantee the same result in a rebuilt sandbox.
Combat Training expands that space onto a multiplayer map, with weapons and short Locust encounters available for practice. It supports four-player co-op, so friends can work out controls and basic coordination together. Treat the session as a chance to learn actions you will actually need, rather than chase a complicated trick immediately.
Practice this simple sequence: leave cover, move to another protected position, aim at a visible target, fire, then reload while safe. Add a slide or climb after you can complete that routine without accidentally entering an unwanted movement. Keep your chosen control scheme stable long enough to learn what each input does.
Choose the destination before starting movement
E-Day's sprint, slide, jump, and climb offer several ways to reach a position. Decide where you want to finish before starting. A slide into a useful angle is different from a slide that leaves you facing several enemies with no nearby cover.
You can shoot during a slide, pass through suitable low gaps, and mantle or climb without first entering cover. These actions help create an angle, but they are not automatically safe. Check the landing position and the enemy's view of the route before committing.
Do not build your entire movement around an old wall-bounce rhythm. E-Day emphasizes commitment and momentum, and launch tuning adjusted cover entry, cover-cancel behavior, strafe response, and slide distance. Learn the current timing through training instead of assuming every cancel and escape works like the previous game.
When a movement fails, identify the action you actually performed. Did you roll instead of slide, take cover rather than pass it, or climb onto an exposed surface? Correct the specific input or route before changing several sensitivity and control settings at once.
Read cover as temporary protection
Cover is the foundation of the fight, but a position can lose its usefulness. Some obstacles are destructible, and low cover may leave more of your character exposed. If enemy pressure changes the protection in front of you, move before the location becomes an obvious trap.
A useful cover position should give you a firing angle and another place to go. Avoid settling where every exit crosses the same dangerous lane. If a grenade or flanking enemy forces you out, having already identified the next position makes the response easier.
Use shoulder swapping while aiming to adjust how you approach an angle. It gives you another positioning choice, not permission to fire through solid protection. If the view looks clear but the weapon is obstructed, change your angle rather than repeatedly forcing the shot.
Higher ground can open sightlines, and climbing provides routes older games did not offer. Check whether the height also exposes you to more enemies. A raised position is valuable when it improves the fight you are taking, not simply because it is above your original cover.
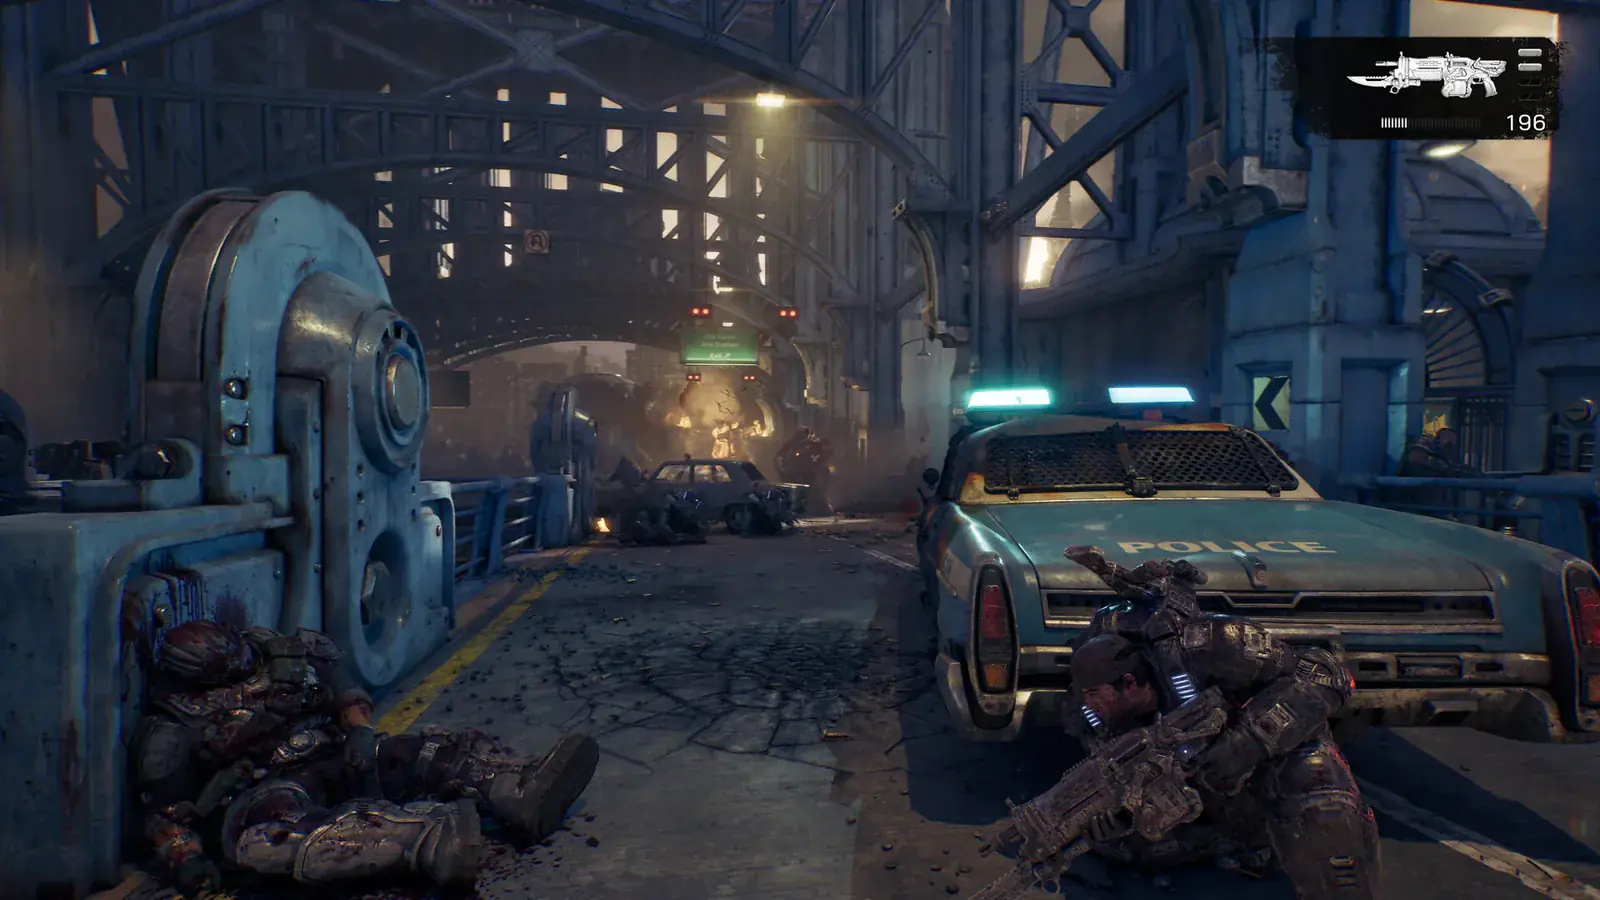
Separate pieces of cover leave a route between positions while enemies fire from farther down the street.
Carry weapons with different jobs
Campaign supports two primary weapons, a pistol, and a grenade. Choose primaries that cover different practical ranges or tasks. A favored sniper rifle is not always the right tool in a tight interior, and a shotgun is not the answer to every distant enemy.
| Situation | Useful weapon direction | Decision to make |
|---|---|---|
| Close enemy pressure | Gnasher or another close weapon | Can you reach or hold that range safely |
| Mid-range lane | A controlled rifle | Can you track the target from useful cover |
| Exposed distant target | A precision weapon | Is there a clear shot and time to aim |
| An explosive objective | Appropriate grenades or explosive weapon | Does the equipped ammunition perform the required function |
Look at the weapons supplied around an encounter. The available pickup may answer the problem better than the two favorites you have carried for several sections. Swapping for the current task is often more useful than preserving a loadout out of habit.
Automatic weapons can reward controlled bursts, and projectiles have simulated travel time. Give yourself a manageable target rather than spraying across a distant lane. If your preferred weapon keeps failing at the range you are taking, change the range or change the weapon.
Make reloading part of the fight plan
Active reload remains an important mechanic. Watch the moving indicator and use the reload input again at the timing target. Practice while safe so the action does not require your full attention when an enemy is approaching.
The Gnasher and Breechshot use round-by-round reloading. You can regain a shell or two without waiting for the entire reload sequence, which makes ammunition awareness useful during a close fight. The standard Gnasher capacity is six shells, so avoid entering a crowded encounter without checking what remains.
Use the gap between fights to restore ammunition. Do not keep chasing enemies while the weapon is almost empty, then depend on a rushed reload to save the next duel. A partial reload is an emergency option; a prepared magazine is a better starting position.
The active reload bar defaults below the reticle, and a setting can place it in the upper-right corner. Choose the placement that you can monitor reliably. Do not assume every weapon's perfect reload creates the same benefit; weapons and PvE modifications can have different effects.
Let audio change your next action
Listen for grenade warnings, enemy calls, and squadmate instructions. A grenade cue should make you check the danger and move to safety, not continue aiming at the same target until the explosion arrives. Enemy sounds can warn you that a dangerous unit is nearby before it enters your view.
Campaign teammates also give useful information about routes, weapons, and targets. When the encounter seems unclear, listen to what the squad is telling you before spending ammunition on a protected enemy or searching an unrelated area.
Use sound alongside visual checks. A cue identifies pressure; it does not always give you a complete route away from it. Combine the warning with your planned next cover position and keep enough awareness to avoid escaping directly into another enemy lane.
For co-op, establish short practical calls. Name the target or lane, say when you need a revive, and tell teammates when you are moving. Longer explanations can wait for a quieter moment. The information should help another player take an immediate action.
Treat Campaign encounters as a shared problem
When teammates draw attention, look for a flanking route or another angle that makes the enemy less protected. When enemies focus on you, stay safe and allow teammates to use that attention. Cooperation matters even during solo play because the squad creates opportunities around the encounter.
Do not rush every side route simply because a fight has begun. Read the enemy mix first. Wretches create different pressure from ranged Drones, and larger enemies can dominate a space. Choose a route that changes the situation rather than one that merely puts you closer to the largest threat.
Exploration and secondary activities can offer useful weapon modifications, but apply changes to the way you fight. A modification that changes ammunition or firing mode may also change the weapon's best use. Read the description before entering the next encounter and expecting its old behavior.
If you are chasing full completion, keep that goal distinct from a fast first playthrough. Checking every collectible and optional activity requires more attention than simply following the primary route. Decide which session you are playing before skipping a side area or leaving the group behind to search it.
Learn the Horde Siege objective before shooting
Horde Siege puts twelve players into three squads of four. Each squad has its own mission, and squads can meet during shared events. Your immediate job is the objective assigned to your squad, not every nearby marker belonging to someone else.
| Objective | What your squad needs to do |
|---|---|
| Secure | Push Locust out of the required area |
| Calibrate | Defend zones near a R.I.G. |
| Repair | Collect and reinstall missing R.I.G. components |
| Defend | Protect the active R.I.G. while it maps |
| Horde | Defend a R.I.G. through ten waves |
Keep a carrier protected, stay in the required defense area, and move when the task changes. Clearing enemies is part of that work, but a high kill count does not automatically repair a R.I.G. or complete a calibration.
Use your class ability for the problem it addresses. Assault stuns with the Sonic Disruptor, Breacher uses the Adrenaline Injector for a close commitment, Marksman tags targets with the Pulse Drone, and Medic heals and revives nearby Gears with the Stim Vaporizer. A ready ability that is never used contributes nothing to the objective.
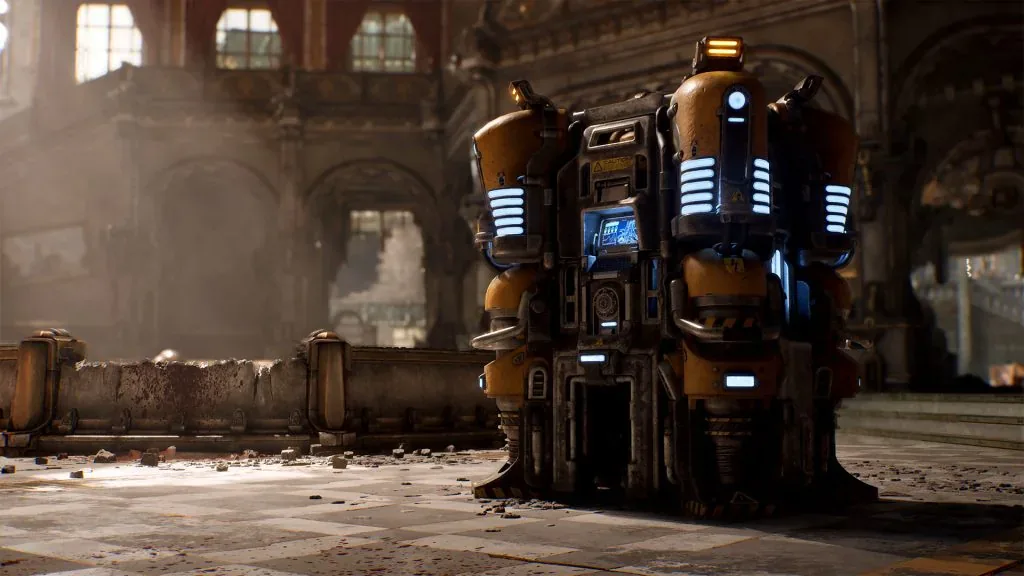
Recognize the R.I.G. before choosing a position around the objective.
Keep mission resources and permanent progress separate
Energy buys useful options during the current Horde Siege mission. Weapon Parts purchase unlocked Weapon Mods for longer-term customization. Squad Perks help the current squad and expire at the end of the mission.
Visit Supply Caches when the team needs equipment or a useful upgrade, and check nearby supplies before the next defense. Equipment and grenades share an inventory slot, so confirm what you carry after buying a replacement. Tell the squad if a purchase changes your ability to perform an explosive task.
Secondary objectives and resupplies can improve the run, but each detour needs a reason. Check distance, tools, and squad readiness before activating another fight. Launch tuning increased equipment and perk costs and reduced some Weapon Part rewards, so old beta shopping and farming sequences are unreliable as fixed plans.
Most importantly, collected mission Weapon Parts require successful extraction. At least one member of your own squad must leave alive. Keep the landing zone and boarding opportunity in view instead of treating the final fight as optional cleanup after the rewards have already been secured.
Play Versus for positions and team opportunities
Versus uses four-player teams and equal starting loadouts. There are no weapon mods in the mode. Focus on positioning, target awareness, and the on-map Power Weapons that can give your team an advantage.
Before crossing a dangerous pickup route, check whether a teammate can cover you. Use smoke to block sightlines when that helps the movement, and tell the team which opponent has acquired a dangerous weapon. Securing an advantage together is more useful than repeatedly sprinting alone toward the same contested point.
Social Player vs Bot playlists provide a place to learn maps and modes while practicing. Use them to understand routes and objective movement, then bring that knowledge into matches against players. Ranked is scheduled to open October 13; on October 7, use the available practice and Social options to prepare.
Improve one repeated mistake each session
Choose one problem from the previous match: empty weapons, unsafe slides, late revives, lost carriers, or chasing kills away from the objective. Practice the action that fixes it and keep your other settings and choices stable for a while.
A useful first session ends with actions you can repeat. You can move to the intended cover, bring the right weapon to the fight, reload during a safe gap, and explain the next objective to your squad. Add specialist techniques after those habits start carrying you through encounters consistently.